Looking for inspiration for cool Halloween face paint? Add the finishing touch to your fancy dress costume this year with some fang-tastic Halloween face paint designs using our quick and easy tutorials. From skeleton face paint to Halloween pumpkin face paint guides, we got you covered.
For these designs we recommend that you use Snazaroo face paints – they’re water-based, easy to apply and remove, and are friendly on even the most delicate skin. Great for people just learning how to face paint.
What You Need
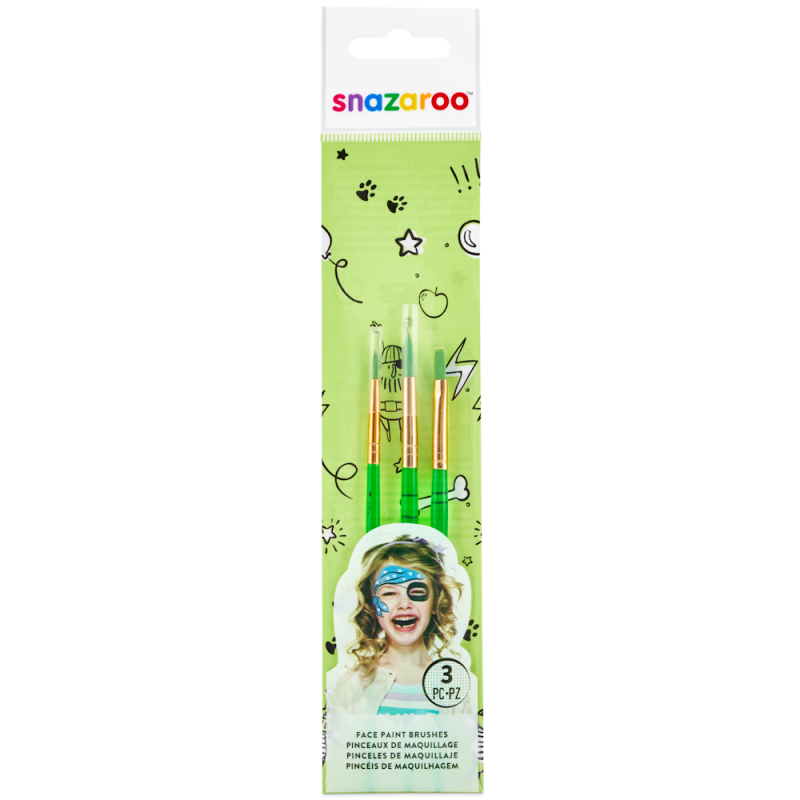
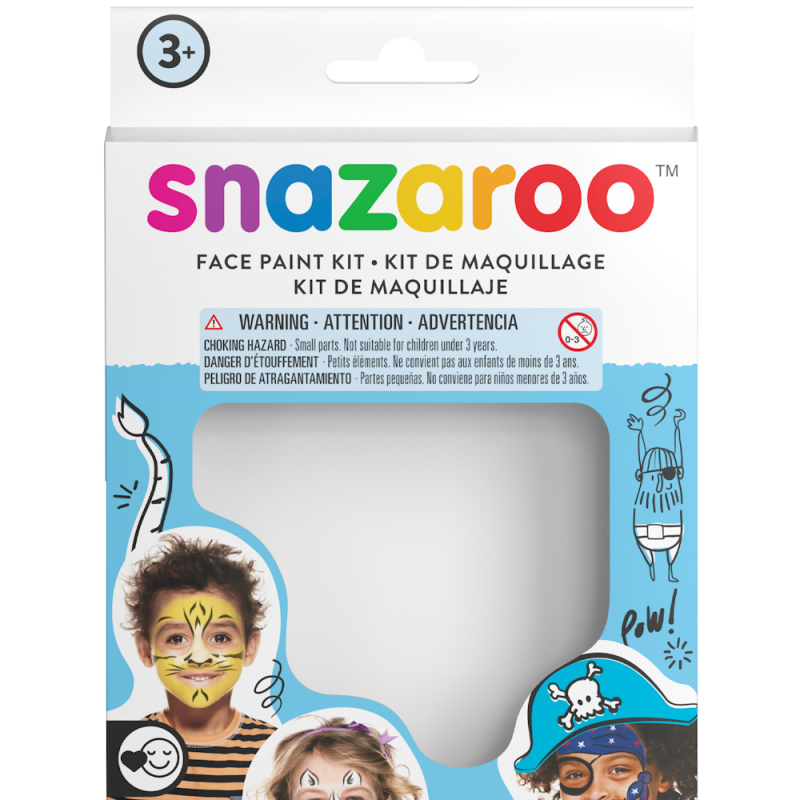
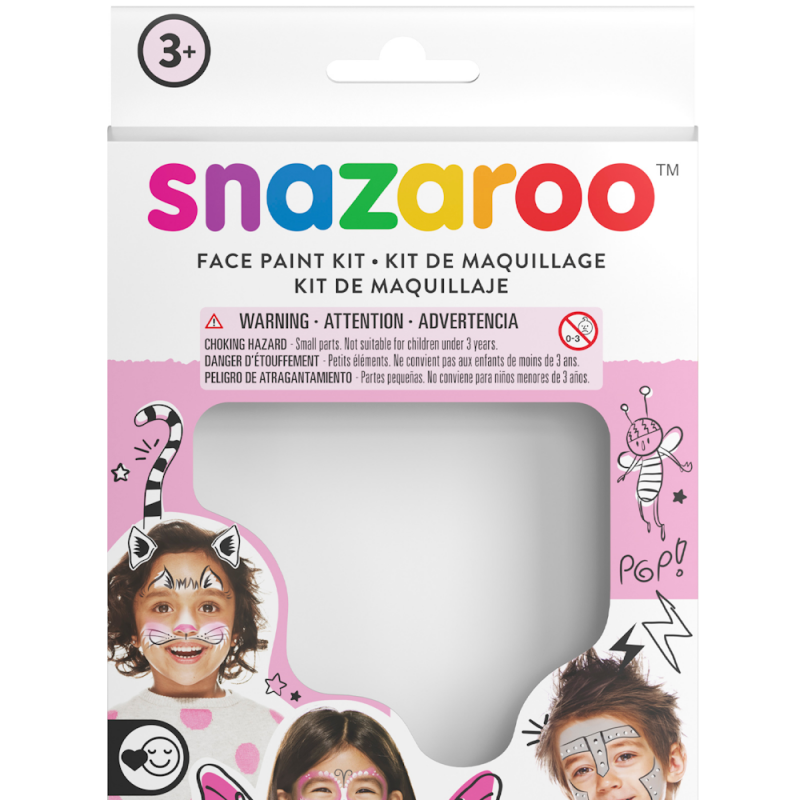
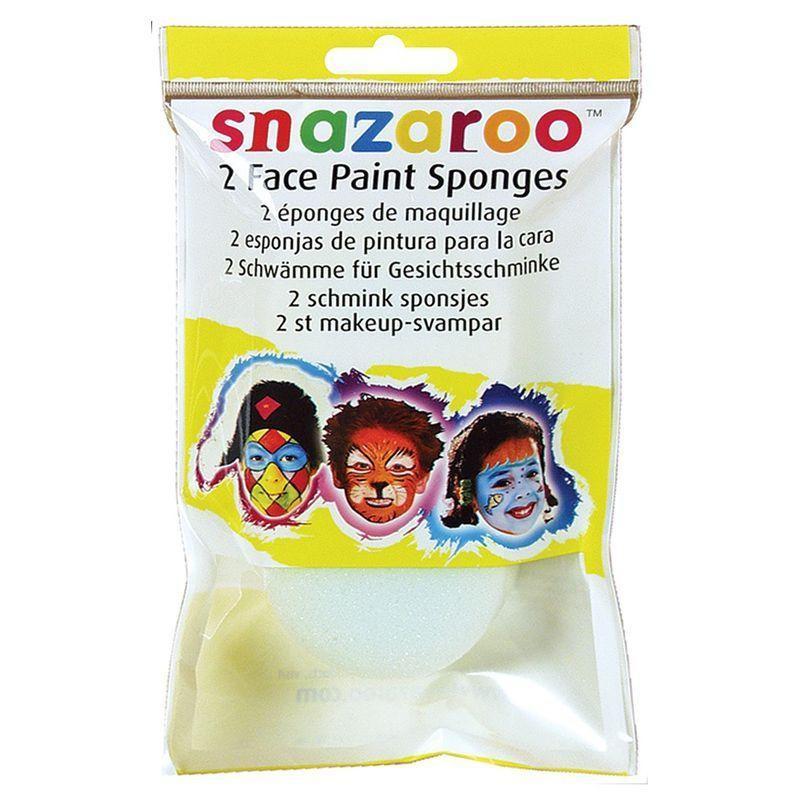
You don’t need much to start creating some awesome looking designs for cool Halloween face paint. The Snazaroo Halloween Kit includes lots of spooky-themed colours, as well as a brush for applying the paint. For quicker and easier application of colour we suggest you use sponges as well – they’re an excellent time saver. Individual Snazaroo colour palettes are also available as part of our Halloween sale, available in 12 brilliant colours.
Preparation
Make sure your Snazaroo water-based face paints are presented on a clean towel and that you have a good supply of water for washing brushes and sponges between faces. There is no need to put any cream or moisturizer on the skin before you begin. Water based face paint is best applied directly onto clean, dry skin. Always apply the base colour first, using a damp sponge. Make sure that the sponge is not too wet by squeezing out excessive water or the finished result may be streaky.
To achieve a deeper colour, allow the first coat to dry and then apply a second coat. On designs that have a variety of light and dark colours, apply the lighter colour first, if possible. When applying colour with a brush, keep strokes even and work in continuous lines. Avoid the temptation to sketch – confidence in this will come with practice.
It’s always worth practicing your Halloween face paint designs if you have time before the 31st, especially if you’re not familiar with how to face paint!
Creating Your Characters
If you’re not sure on how to face paint, we have created simple guides for character face paint. Below are some of our favourite Halloween character designs, courtesy of Snazaroo. They’re all very easy to replicate and can be achieved in just three simple steps – creating the foundation, colouring-in and adding the details.
Wicked Witch

Witches are classic Halloween face paint designs, and this is a very easy way to create a great addition to your hat and broom. The nose and wart can be a lot of fun to mould, so you can get little hands involved too!
1. FOUNDATION – Take a small amount of Special FX Wax and mould it into a ball. Press the ball onto the left cheek to create a wart. Next take a larger amount of wax and mould around the nose in an ugly shape.
2. COLOUR-IN – Using a large sponge, cover the face in grass green, which should be simple with Snazaroo water based face paint. Then take a brush and paint thick eyebrows in black paint.
3. DETAILS – Finally, mix some grass green with a tiny amount of black, creating a dark green face paint for the final touches. Then use the corner of a sponge to blend wrinkle lines onto the forehead, and around the eyes, chin and cheeks.
Little Devil

This easy devil face paint design is simple and effective. If your Halloween costume includes some horns, don’t worry! You can leave the white horns out of this Halloween face paint design.
1. FOUNDATION – With a sponge and some bright red paint, entirely cover the face.
2. COLOUR-IN – Using a brush and black paint, fill in some thick circles around the eyes. Taper them up at the eyebrows and feather two points underneath. Add some more feathered points at the side of each eye. Now take a sponge and gently dab some black paint around the edge of the face to contour the cheeks. Finally use some white and a brush to draw two horns on the forehead.
3. DETAILS – Use a brush and black paint to add wrinkles to the face and outline the horns to perfect this easy devil face paint design.
Vampire

Another classic addition to character face paint designs, vampires come in many shapes and sizes. Our guide will turn even the sweetest face in to a scary blood-sucking fiend!
1. FOUNDATION – Use a large sponge to cover the face in white paint, leaving circles around the eyes.
2. COLOUR-IN – Dab some red paint into the circles around the eyes. When this is dry, use black paint to colour over the top but leave a bit of red visible along the bottom edge. Now take a thin brush to paint black, spindly veins around the eyes, like in the picture.
3. DETAILS – Use a thin brush to paint two fangs hanging down from the bottom lip. Then colour in the tips with some red paint and draw a streak of blood from the corner of the mouth to the bottom of the chin.
Frankenstein’s Monster

This character face paint is a simple and easy way to create an effective Halloween design. The green and the stitches make it instantly recognisable as Frankenstein’s monster. And with Snazaroo water based face paint, it should all be easy to wash off after Halloween.
1. FOUNDATION – Use a sponge and some grass green to completely cover the face.
2. COLOUR-IN – Mix some green with a little black to create a dark green face paint and paint dark circles around the eyes. Take a thin brush and some bright red and paint a splodgy cut on the forehead, one down the left cheek and one across the right cheek.
3. DETAILS – Take some black and a thin brush and draw stitches over the cuts and wrinkles on the nose between the eyes. Finally, mix some green with a little black and add furry, feathery lines along each eyebrow.
Zombie

Using only a few colours of Snazaroo water based face paint, you can create this effective Zombie character face paint. This Halloween face paint design includes some more detail, so practice makes perfect.
1. FOUNDATION – Using a sponge, cover the face in white paint. Then, mix some white with a touch of black and dab the grey on the head, chin and cheek.
2. COLOUR-IN – Mix some more grey and paint darker circles around the eyes. Then add some definition to the grey patch on the right cheek. Use a brush to paint a large black triangle on the left cheek, then add an arrow shape on the left temple and three lines on the right cheek.
3. DETAILS – Using a thin brush and some white paint, add some crooked teeth to the black triangle on the left cheek. Then take some red paint and the corner of a sponge to blend a bit of ‘blood’ round the edge. Finish by painting a red ‘cut’ through the lines on the right cheek and a bit of dripping ‘blood’ on the temple.
Pumpkin

Halloween pumpkin face paint is a classic and simple design that doesn’t have to take up your whole face. If you’re running late on getting a Halloween costume, this is a quick and easy solution – grab an orange T-shirt, maybe even orange trousers if you have them, and boom! Halloween pumpkin face paint can be a life saver, not to mention a very easy face painting design.
1. FOUNDATION – With a wet brush and orange paint, draw two big round shapes around the eyes for a pumpkin-shaped mask. Make sure these two shapes meet and cover the nose. Fill the shape with orange paint and a wet sponge.
2. COLOUR-IN – Then with a small brush and black paint, outline the pumpkin leaving a small space in the middle of the face for the stalk. Add three curved lines to the bottom of each side of the pumpkin and a triangle on the tip of the nose.
3. DETAILS – With a small brush and green paint, draw a shape above the top of the nose for the pumpkin stalk.
Cheeky Skeleton

This skeleton face paint design is a great choice, especially for little ones. This is a very easy face painting design for people who are brand new to Halloween face paint designs.
1. FOUNDATION – Take a sponge and cover the face entirely in white paint.
2. COLOUR-IN – Using sponge and some black Snazaroo water based face paint, paint two rings around the eyes in the shape of skull-like eye-sockets. Then add two black prong shapes that taper up the nose.
3. DETAILS – Take a thin brush and black paint, then paint lots of little thin lines around the mouth.
Click here to view our online Snazaroo range. There’s even more available in-store too!
< Back to blog