


If you're anything like us, we're sure that you're keen to learn a new painting technique, right? Maybe something different with your trusty oil paints? How about a challenge?
Well... why not try your hand at portrait painting? A genre many artists attempt, but never master. We're not proclaiming to be masters ourselves, of course, but this step-by-step guide has all the tips you need to start using your oil paints for portraiture!
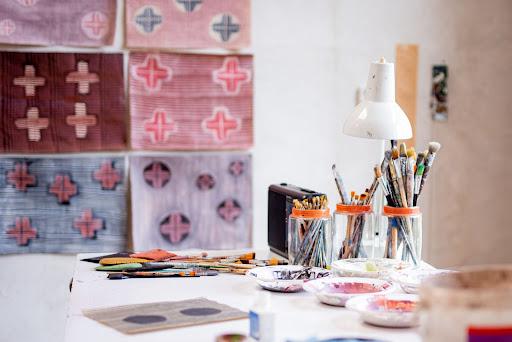
What equipment will you need?
Before you start on an oil portrait, it's important to have everything you need & have it all easily accessible:
- A selection of paint brushes in various shapes of bristle
- Oil paints in a range of colours (such as Georgian or Winton)
- A suitable easel, of course.
- Canvas or a suitable canvas pad
- Mixing palettes
- A good quality pencil
1. Compose Your Model
This first step can be the most time-consuming, however, that doesn't mean you can't have fun with it.
If you've got yourself a model, you'll want to spend some time deciding how you would like them to pose. This means testing out different positions, clothing, colours, textures & more to really achieve the look you'd like.
For instance, historically a lot of artists prefer to work with natural lighting, but it's definitely worth testing out some artificial options, as they can alter the entire dynamic of a portrait. A harsh spotlight, for example, creates deep, harsh shadows for dramatic effect.
If, alternatively, you're working from a photographic reference then it's essential to select an image that's crisp, clear & has good lighting. This makes it easier to pick out the finer details.
2. Start with sketches
Before even your first brush stroke, you should start by making an initial sketch. This allows you to mark the important outlines & use them as a guide that you can follow when you're ready to apply the paint. Think of this as almost the "skeleton" of your portrait, on which you'll build the structure.
If so inclined, you could even draw a faint grid on your canvas, helping with scale & proportions (we would recommend using a pencil with a harder, light lead such as H, 2H, 3H etc.)
3. Prepare your oil paints
It's time to put together your palette.
Decide in advance which colours you would like to use, this helps save time & resources. If you're completely new to oil painting, it may be a good idea to invest in a small, cost-effective set of oil colours & practice mixing.
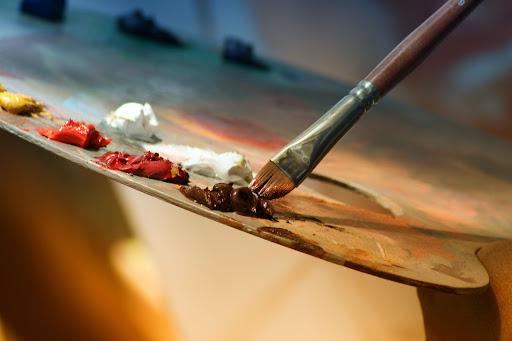
4. Begin Painting
If there's one word we want you to take away from this step, it would be; "layers".
Firstly, oil paints are incredible thick & can dry extremely slowly so it's best to apply them thinly, working in stages. Some artists even thin the paint down beforehand by using a small amount of medium, such as linseed oil.
Secondly, you'll want to work up from the previously mentioned "skeleton" by starting with the basic outlines & structures of your model (such as the face & neck), the next layer from there you can begin adding in the basic details of their features, such as the eyes, nose & mouth.
Rinse & repeat.
5. Add blocks of colour
Build on your portrait by adding blocks of colour in various light & dark tones.
Don’t expect too much realism at this stage just yet, your subject may look like a fleshy Lego person (all shape, no detail) or the "vague idea" of a person. There's no need to worry, all of these disjointed sections will soon come together!
If you're painting from a photograph, you can even dab a small amount of paint onto the image itself & use it as a reference to check your colours are right.
6. Refine, refine, refine
You can now begin to work on refining your blocks, making them softer, blending & transitioning the colours where they meet. Be sure not to over-blend, you don't want to lose the colour you are looking to create, after all.
7. Define your details
The final touches!
You'll want to use some very fine brushes for this stage, to help you apply the final details to your oil painting portrait.
Remember, the key here is to be confident in your vision & of course, that practice makes perfect. If possible, work with the same model more than once, this way you'll become more familiar with the various shapes & angles of their face, making it easier each time you paint.
Once you’ve finished, be sure not to forget to clean your brushes. Especially before the paint begins to dry!
< Back to blog