Ink can be a daunting medium for beginners. Dramatic colours and contrast and intricate mark-making are all possible, however, the immediate permanence of pen and ink is off-putting to those used to pencil and paper.
Since ancient times, artists have used inks and dyes with pens to create their masterpieces. Leonardo da Vinci popularised the medium during the Renaissance, and since then it has been used by many famous artists throughout the centuries, from Van Gogh to Picasso. Today, black ink drawings are still popular throughout art genres, allowing stark contrasts and detailed imagery.
Don’t worry. Pen and ink is a fantastic medium to delve into. The versatility of ink and variety in types of pen means that there are plenty of techniques, new and old, to spice up your drawing style. Whether it’s a new medium for you or you’re looking to find more ways to create effective art pieces, let’s take a look at how to draw with a pen and ink.
Your Ink Drawing Tools
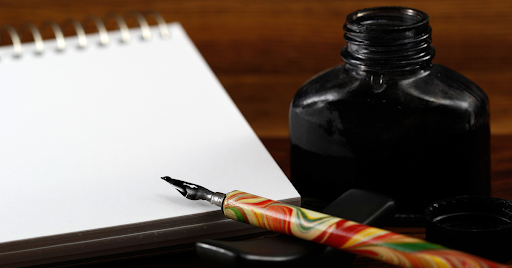
Chances are, you won’t have what you need for ink drawing lying around your house! You’ll be pleased to know that ink drawing has a relatively low overhead, with just a couple of must-haves to get you going. As well as a whole lot of patience, as detailed ink drawings can take time, here are a few basics for your art equipment portfolio.
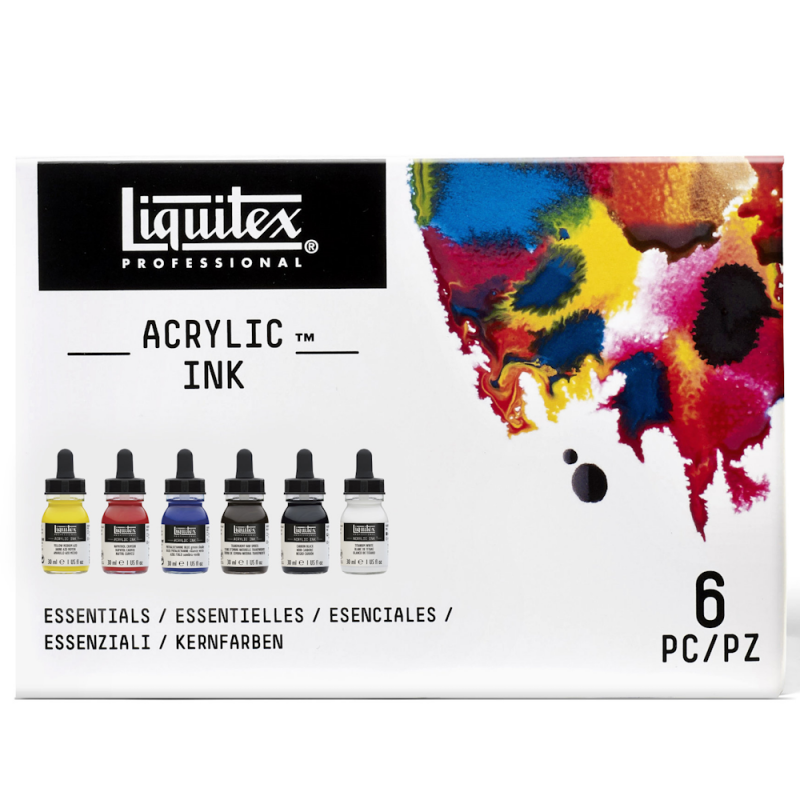
- Ink
- Dip pens and nibs
- Quality cartridge paper
- Drawing pens such as fineliners (if you wish)
- Graphite pencils (if you wish)
- Eraser (if you wish)
Our stock of affordable products offer just about everything you need, from paper to paints. Browse our website today and find the deal for you!
Pen and Ink Drawing Techniques
For those used to dry mediums, ink is a whole new world. Shading can no longer be managed by the pressure you put on your pen, but rather marks of different shapes, sizes and frequencies - closer together marks will give the illusion of shade, while space on the page alludes to light. And lines cannot be erased or moved from your piece - every mark is final. Sounds a bit scary, right? Don’t worry. Here are a few techniques to get you going!
Hatching
Hatching is a great way to start adding a bit of shading and texture to a shape in your ink drawing. They are essentially lines running in the same direction layered beside one another - the closer together the lines, the darker the shadow. These lines can vary hugely in length to give the impression of a rounded shape.
Cross-Hatching
To add an even darker shadow to an area of hatching, you can add perpendicular lines over the top of existing lines. Play around with this, gradually fading from dark to light, before adding it to your masterpieces.
Cross-Contour
While similar to hatching or cross-hatching, contour lines should follow the outline shape of your object. Parallel lines should not overlap, but rather run close to one another. Darker areas are once again created using perpendicular lines where you see fit, while lighter areas are alluded to with white space.
Add Water
Ink can not only be used on its own for stark colours but also in combination with water for a lighter, fainter colour. Whether you use a wet brush to tease areas of your drawing after you’ve got the shapes down, or you use a wash before setting nib to paper, ink washing should be utilised carefully on your pieces. Painting with ink can be a whole new door to enter, so make sure you’re prepared!
Circular Marks
For landscapes, circular marks can be a great way to create areas of light and dark. Scales, tiles, foliage and more are all great areas of a piece to use circular marks. As in other techniques, the more white space left, the lighter the area. So smaller, closer together circles will add darker areas while larger, spacious circles the opposite.
Stippling
Another popular mark-making technique for pen and ink drawings is stippling. Leaving lines behind, stippling is quite simply using countless dots to create a shadow. While more time-consuming, this is a stunning way to finish an ink drawing.
Random Lines
Using random lines is harder than it sounds to create shading and form within a piece of work. With random lines, your work will seem more fluid and less right-angled than with hatching, with small peaks and troughs creating a more interesting texture. Mastering this technique might take time, so practice makes perfect.
< Back to blog