Truly one of the most captivating artforms out there, formed of countless techniques that blend technical prowess with boundless creativity, printmaking has been practiced for over 4000 years in one way or another.
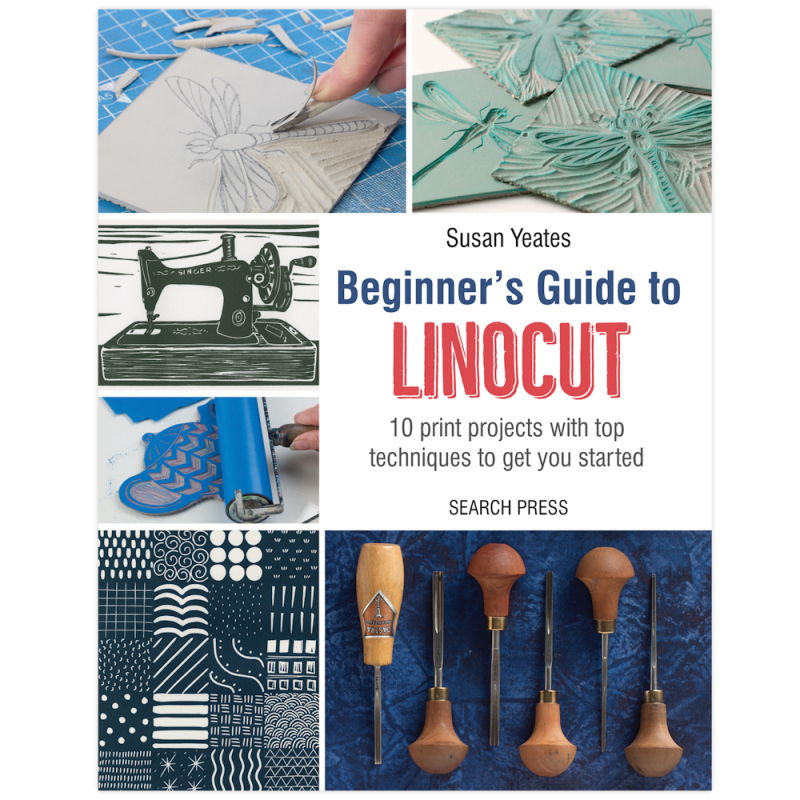
Covering the basics, this blog is the first in an ongoing series bringing you all you could ever want to know about printmaking! Also, if you haven't already, be sure to check out our previous blog entries “Lino Printing for Beginners” & “Block Printing Fundamentals” for even more printing goodness.
Anyhow, let's get started, shall we?
.
Stencil
Stencil printing refers to methods with images made by forcing ink through a shaped opening.
The term pochoir refers to the most direct process, whereby the stencil is hand-cut from paper or thin plastic & ink is then applied to the paper through the stencil openings via a stiff brush. Contemporary versions of the hand-cut stencil are almost ubiquitous in the world of street art. Screenprinting makes this stencil more stable by attaching it to a fine screen, traditionally made with silk (although modern options often trade this for a synthetic material). This screen-mounted stencil allows for very intricate information to be printed continuously.
Relief
Traditionally minimal, Relief printing is associated with woodcut, wood engraving & linocut, referring to carved materials where the printed image is produced using what is left of the original surface. Although the result is usually high contrast with a generally smooth surface, wood engravings may have subtle tonal differences throughout due to their natural grain.
Intaglio
Traditionally associated with metal-plate matrices which are engraved or chemically etched to establish an image, this is also further split into two sub-categories. The first are Direct processes, which include engraving & drypoint. The second is Etching, which involves using an acid to produce images.
Additionally, Aquatint is a term often used independently to refer to a specialized etching process that results in a tonal image.
Crossovers
Originating from the union of two words (collage & graphic), a traditional Collagraph matrix is made by cutting & pasting paper and other textural elements, with the plate then printed using intaglio or relief methods. Whilst the print may share visual characteristics to these methods, the use of collage is easily demonstrable.
Over the years, Collagraph has grown and expanded to include the use of a broad variety of techniques. Photocollagraphs, for instance, employ light-sensitive films or emulsions to capture photographic information.
.
Water-based
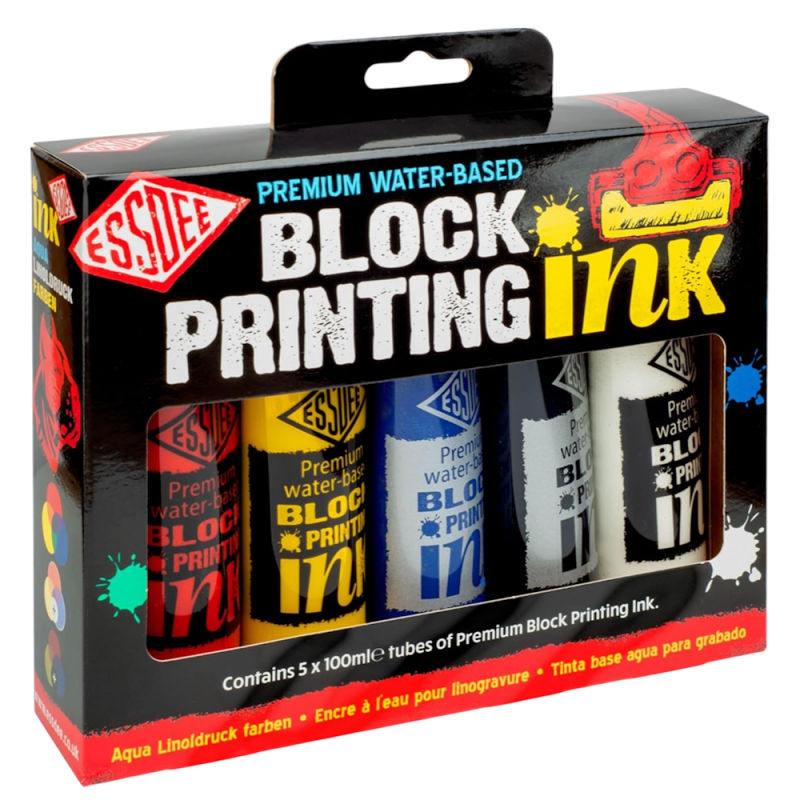
Available from Essdee, Schmincke & Cranfield, water-based inks are often recommended to newcomers due to their availability, cost-effective pricing & lessened environmental impact.
Their quick drying time minimizes smudging & potential imperfections, making them ideal for projects involving multiple layers or colours. Ideal for smaller workspaces, they have little to no odour & feature lower levels of volatile organic compounds (VOCs). This allows them to be easily cleaned using simple soap and water, eliminating the need for harsh solvents or chemicals.
Downsides can include the quicker drying time, which may necessitate quick work.
Oil-based
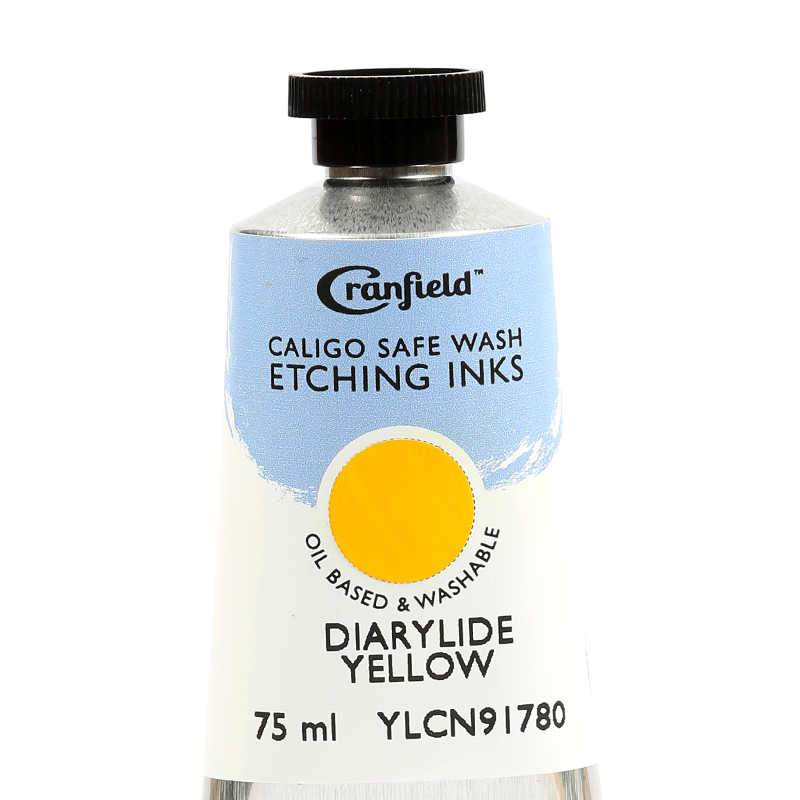
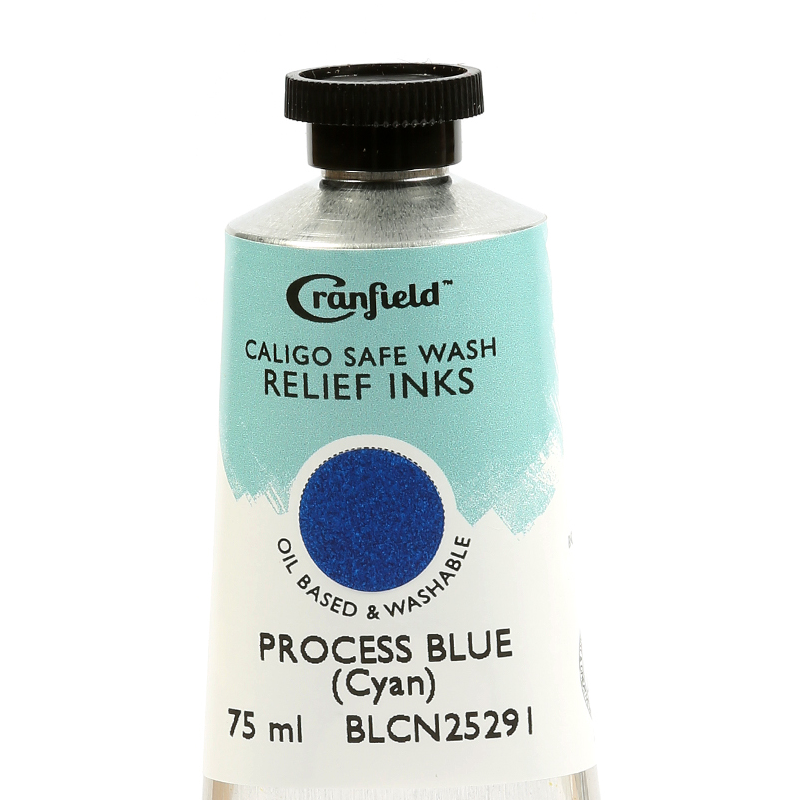
Available from Cranfield or as an Adigraf medium from Daler-Rowney, oil-based inks provide several advantages to printmakers including additional opacity, colour vibrancy & extended working times.
Often richer in pigment in comparison to their water-based counterparts, they offer bold colours & excellent coverage, which can be especially useful when printing on darker surfaces or paper. Along with this, their smooth, creamy consistency ensures they spread evenly for a uniform ink layer, resulting in cleaner & sharper prints with fewer imperfections.
Along with being more durable & fade-resistant, their slower drying time allows for greater flexibility in your work, which is particularly useful for more intricate designs. Keep in mind, however, that oil-based inks do come with drawbacks including extended drying times & additional solvents for clean up.
.
When making prints, the simplest method of preparing your image is to draw it directly onto the surface (bearing in mind it will be reversed). However, there are several other methods for transferring an image to a block or matrix.
Drawing Transfer
The simplest method beyond direct drawing, this involves using a soft material such as charcoal or soft graphite to create the original image. This is then placed face down onto the block & transferred by rubbing the back with a brayer or burnishing tool.
Carbon Transfer
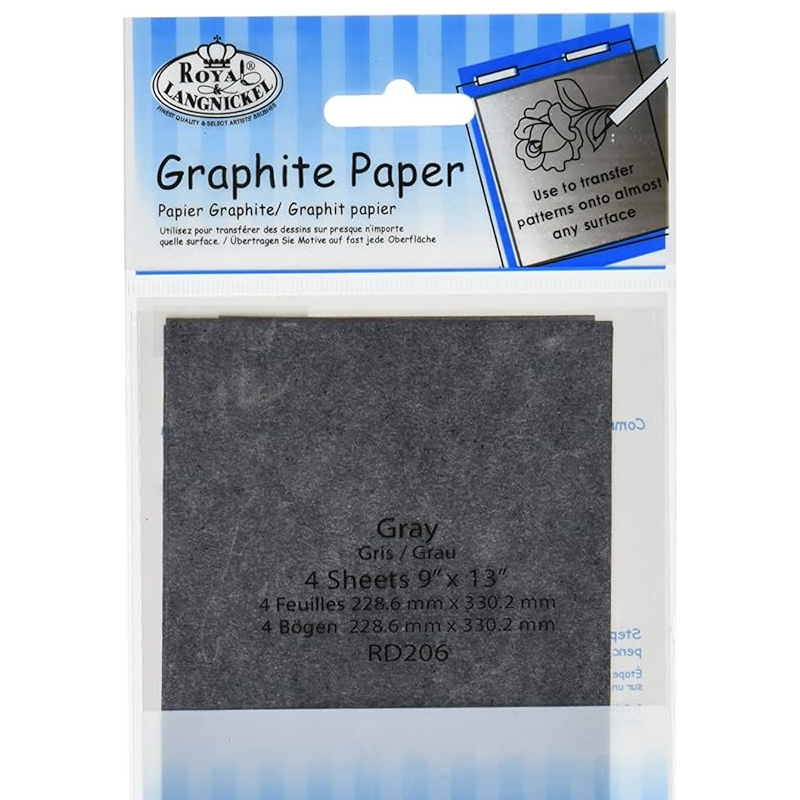
Placing a piece of carbon or graphite paper (available from Royal & Langnickel) between your original image & block, this is then traced, leaving behind a layer of carbon on the block itself. Once transferred, this can then be straightened or further detailed with a permanent marker. Keep in mind, when working this way, it’s best to use a reversed or mirrored image if possible.
Photocopy Transfer
Especially useful when working with text or photographic elements, transferring a photocopy via heat is another fantastic timesaver. Whilst not as sharp as a solvent transfer, using heat avoids toxic solvents. Simply place your photocopy face down atop the block and, using a household iron (set to high) to iron from the back & re-melt the toner, transferring the image to the block.
.
That's it for part one folks, just a simple overview on techniques, transfers & inks to get you started. Hey... whilst you're waiting for part two, why not browse our brand new variety of Printmaking materials for inspiration?
Email: admin@cowlings.com
Telephone: 01303 290550
Click here to visit our Instagram, Twitter & more!
