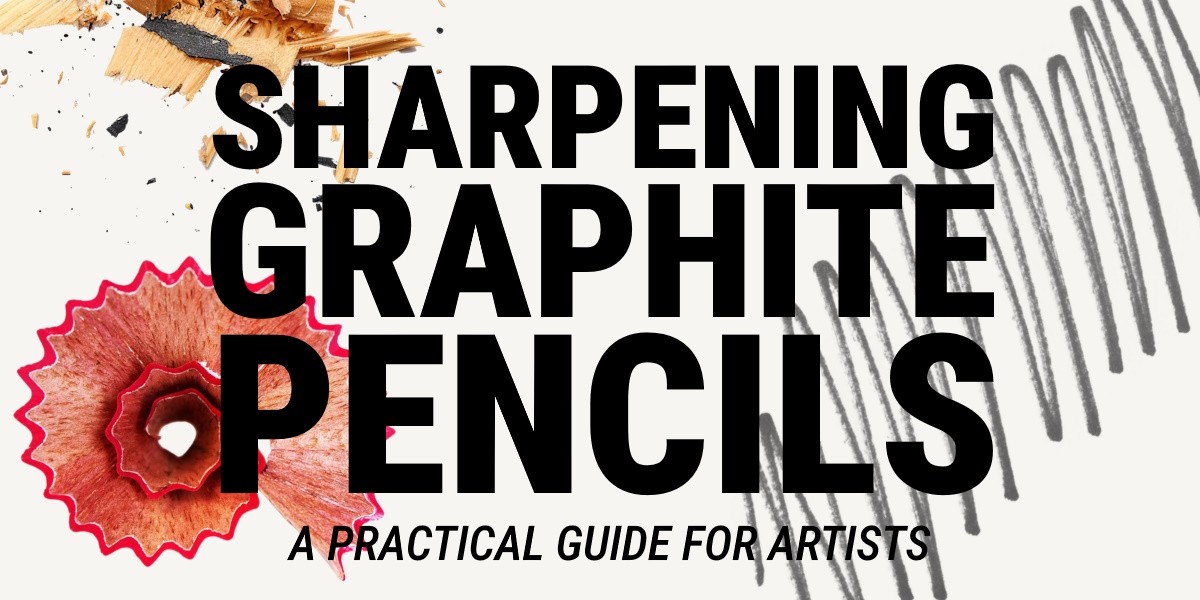
Sharpening Graphite Pencils
A Practical Guide for Artists
Sharpening graphite pencils seems so simple on the surface, you may even have seen the title and thought to yourself; “Come on now Cowling & Wilcox, I’ve been sharpening pencils for years, does it really require a whole blog?”. Well, as with all things creative & otherwise; if it’s worth doing, it’s worth doing right.
Whether you’re sketching, drafting or rendering fine details, if you’re working in graphite then understanding the interplay between pencils and sharpeners can play a key step in the creative process.
So, throughout this comprehensive guide we’ll be exploring the safest, most effective (and cleanest) methods of sharpening graphite pencils to help you achieve consistent results.
.
Why Proper Sharpening Matters
Graphite is a relatively soft material and the way you sharpen it can affect line width, consistency and even the longevity of your tools. Understanding best practices and using a “properly sharpened” pencil provides:
Tighter Control: Whether you’re making finely detail portraits or bold, striking pieces, being able to trust your tools is an incredibly important factor. Practicing proper sharpening can go a long way to ensuring your pencils are reliable & predictable.
Smoother Shading: Add soft, naturalistic depth to your work by exposing more of your pencils graphite core. This can greatly help with smooth gradients, subtle transitions and more in shading, blending or colouring techniques.
Consistent Marks: Consistency is key to any artwork, of course. But, for professional applications or repeatable techniques, you need to be able to rely on the behaviour of your tools. Adopting a standard for your sharpening helps in achieving the results you want (minus any nasty surprises).
Reduced Breakage: Regardless of whether you’re using the best pencil money can buy or a run-of-the-mill option, improper sharpening can weaken both the core & casing, effectively shortening the pencil's lifespan & reliability.
.
Choosing the Right Pencil Sharpener
Not all pencil sharpeners are created equal & very often, finding the right one for your preferred style & type of pencil can make all the difference. From handheld options like the Jakar Brass Sharpener range, to Seawhite's Sandpaper Blocks, here are just some of the options available today & how they best help.
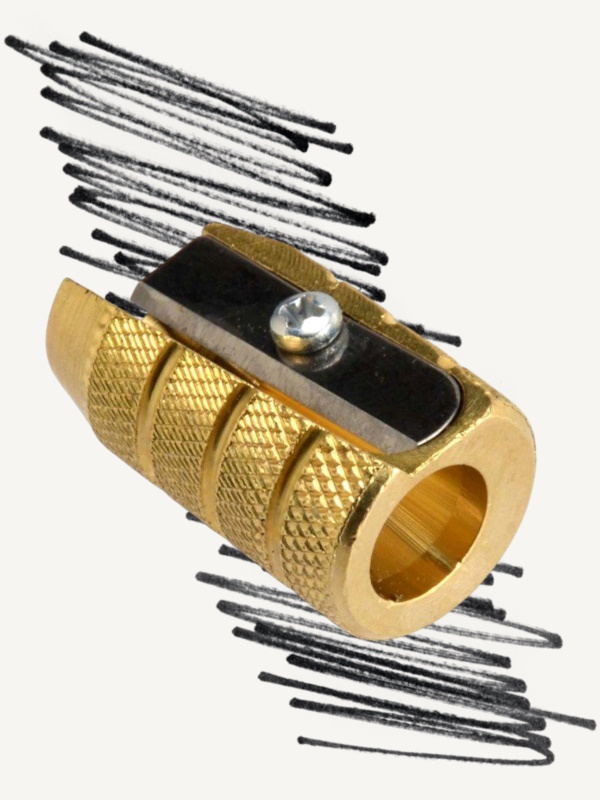
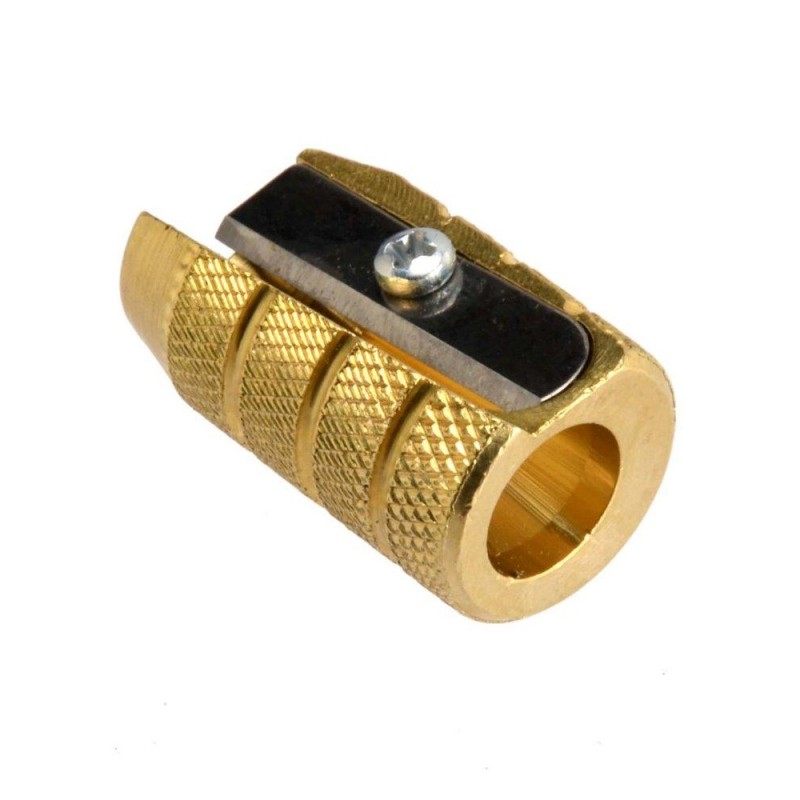
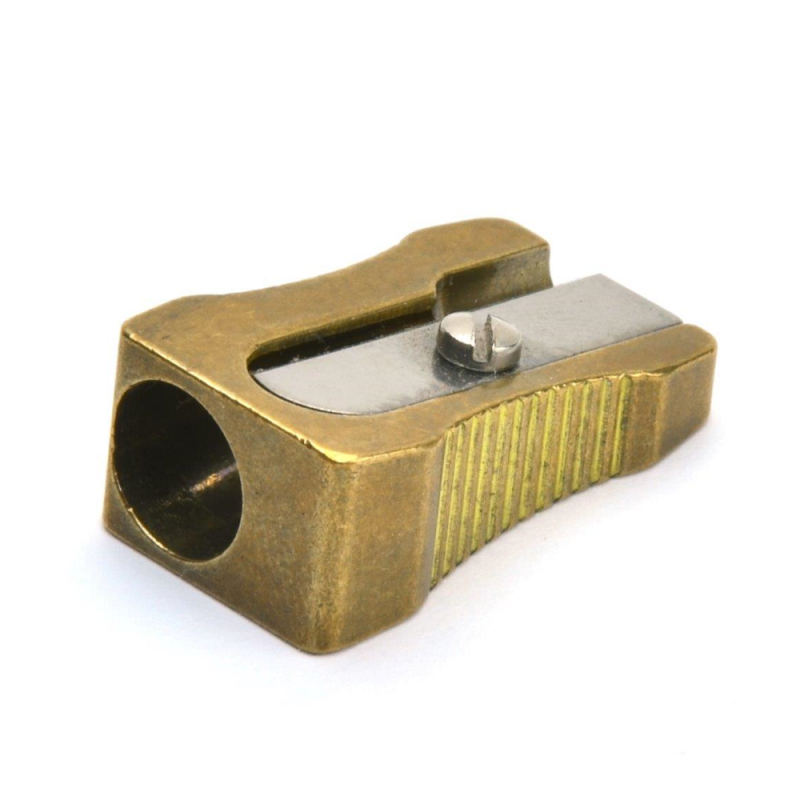
Handheld Sharpeners
The one you remember from school.
Intuitively designed for ease-of-use, handheld sharpeners are ideal for any age or skill level & feature a replaceable blade for smooth, clean cuts. Single holed options fit most pencils, whilst the double-holed variety can accommodate several pencil sizes.
Keep in mind, some ranges or brands have their own specialised sharpener available also, like the Woody 3-in-1 Sharpener from Stabilo.
Benefits
- Perfect for standard length points
- Great for everyday sketching or note taking
- Small & lightweight for quick sharpening anywhere
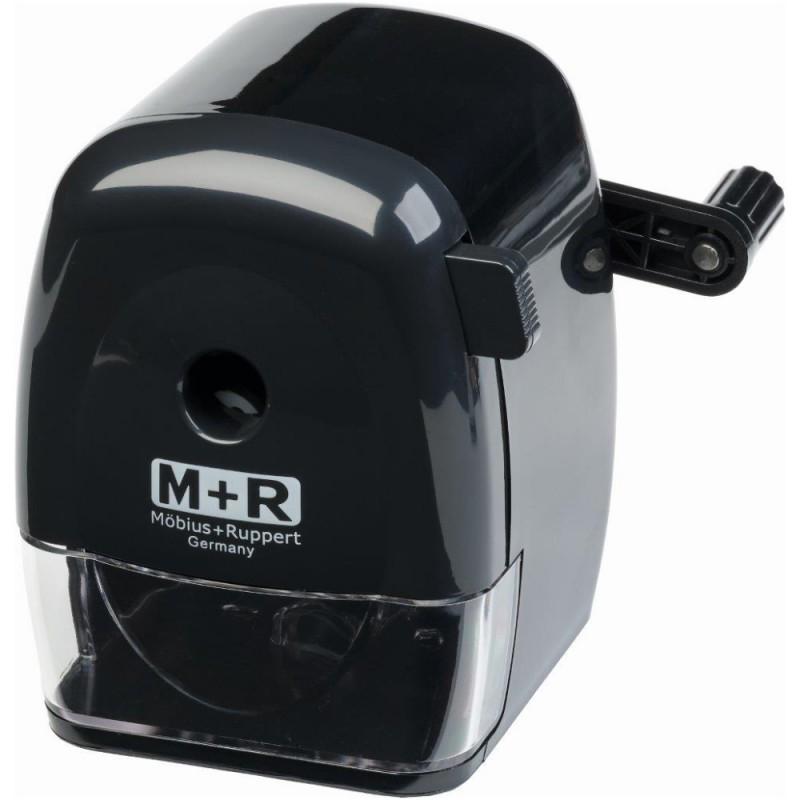
Mechanical Sharpeners
Mechanical (or "crank") sharpeners do the heavy lifting for you.
Their secure grip reduces wobbling as you sharpen, helping to prevent uneven cuts for a consistent, fuss-free point. Additionally, they normally include a small compartment for your loose shavings, ensuring cleanliness while you work.
Benefits
- Consistent, reliable sharpening every single time.
- A safer option for classrooms & educational environments
- Perfect for tasks requiring uniformity, such as 2D animation
- Ideal for bulk sharpening batches of pencils for projects, classes or otherwise

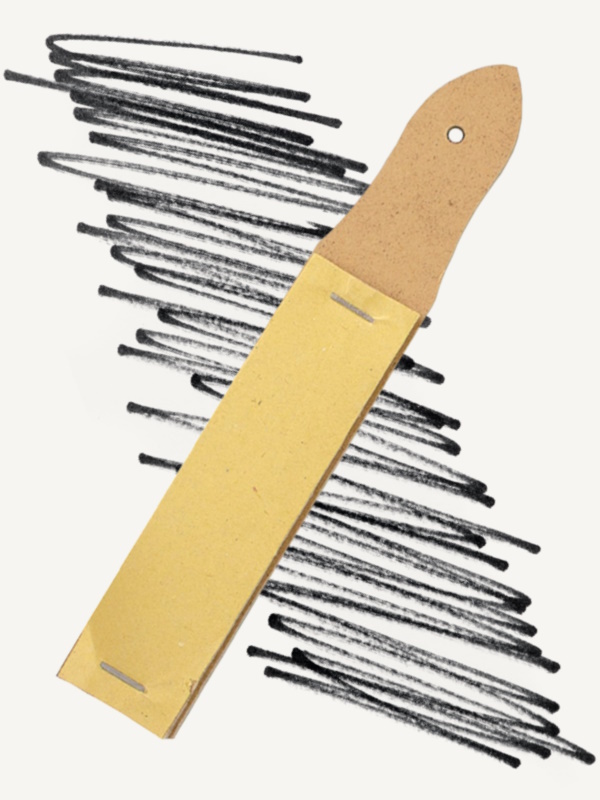
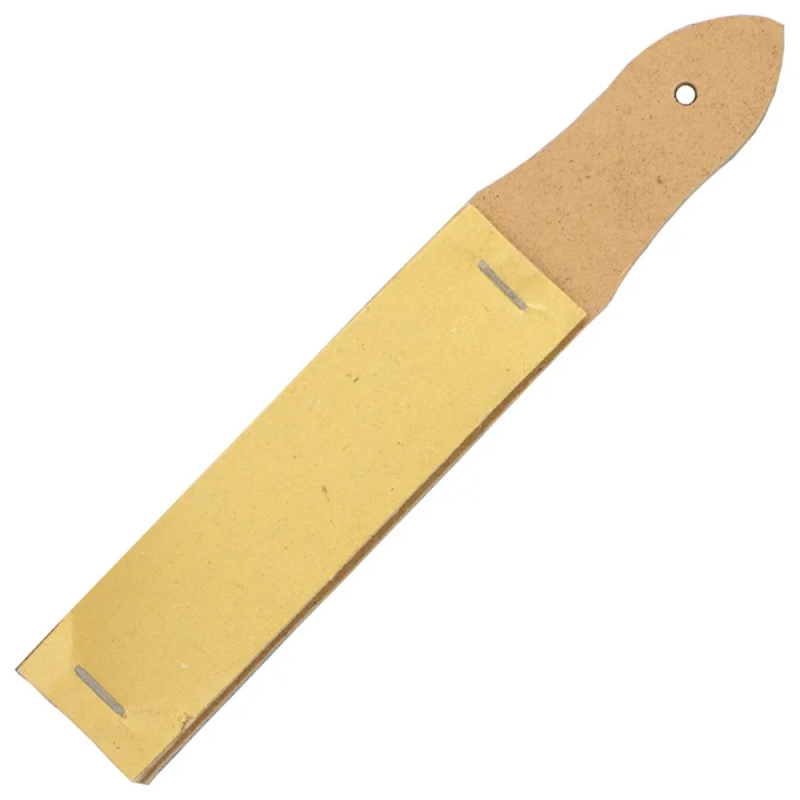
Sandpaper Blocks
Sandpaper blocks, the gentleman's sharpener.
Designed for precision & control, sandpaper blocks may require more elbow grease, but the results speak for themselves. Featuring an abrasive surface that gently shapes your pencil tip, they're perfect for producing long, tapered points ideal for fine details, shading transitions & more.
Benefits
- Achieve ultra-fine, needle-sharp graphite points
- Shape custom pencil tips for varied drawing techniques
- Maintain a consistent sharpness during prolonged sketching sessions
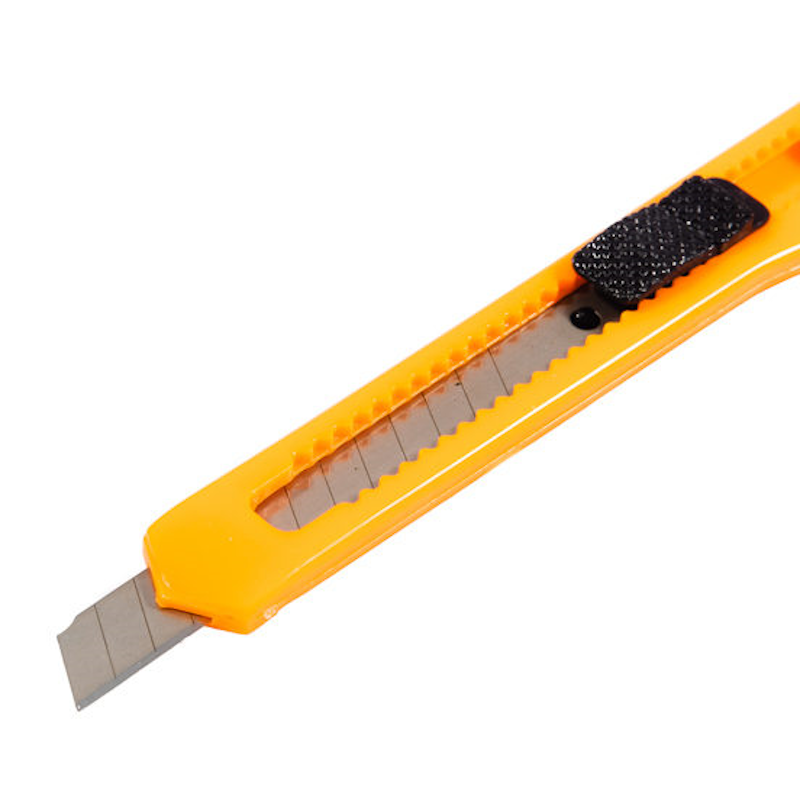
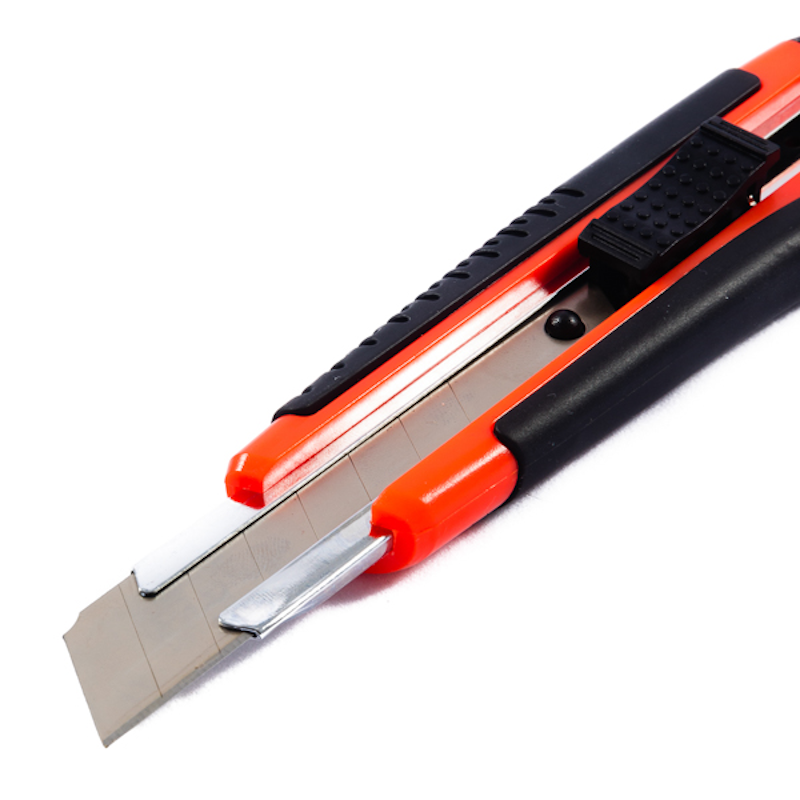
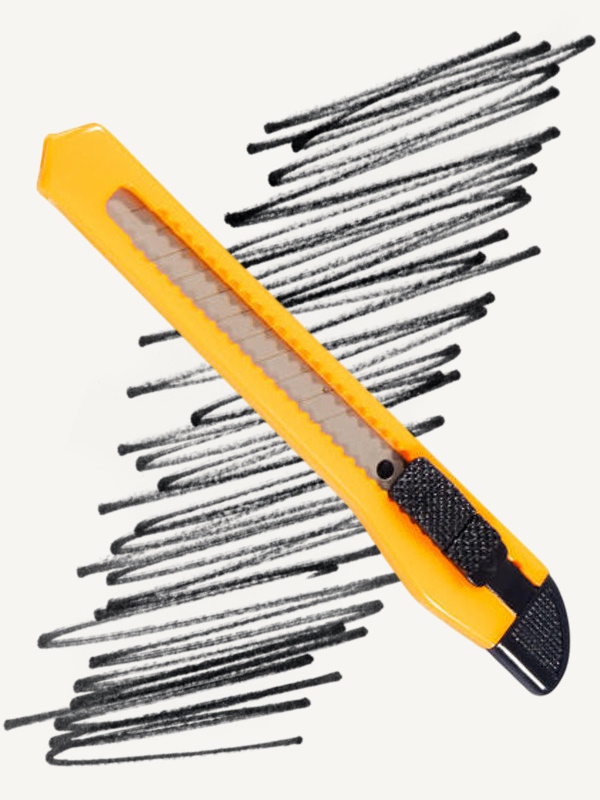
Knife Sharpening
Knife sharpening, for those of us who live dangerously.
If you're feeling adventurous, a craft knife is a classic way to sharpen your pencils that's particularly popular amongst traditional fine artists. Whilst this method requires more care, using a craft or hobby knife offers clean points and (with practice) incredible precision for a more tactile creative experience.
Benefits
- Can produce extra-long bevels for shading techniques
- Incredible precision for customisable point lengths & shapes
- Trade the relative safety of standard sharpeners for a more "direct" approach
Sharpening Hints, Tips & Best Practices
No one wants issues whilst they're sharpening their pencils, so keep note of the following tips to make sure you don't experience any undue stress when preparing your creative tools.
Let the Sharpener do the Work: If you're using a handheld sharpener, be sure to rotate the pencil & not the tool itself. This helps reduce twisting stress on the graphite core, ensuring a cleaner, straighter & more reliable point.
Use Minimal Pressure: If your sharpener isn't gliding as smoothly as it should, consider sharpening or replacing the blade before applying any additional pressure, as this can often result in unfortunate breakages.
Keep Sharpener Blades Fresh: Sharpening with a dull blade is like cooking with matches, sure it can be done, but it's going to be difficult & take forever. Maintaining your blade edges helps produce reliable results and lengthens the life span of your pencil.
Match the Sharpener to the Grade: Softer graphite cores (6B-B) are more prone to breakage, so it's best to sharpen these carefully and avoid ultra-long points. However, harder graphite cores (H-9H) are much stronger & generally safer to sharpen down to extra-fine points.
Control the Graphite Exposure: A key step to achieving the results you're looking for is to monitor & keep tight control over the level of exposed graphite. A short, crisp point is perfect for fine detailed work, whereas a longer bevel offers smoother gradients for blending or shading techniques.
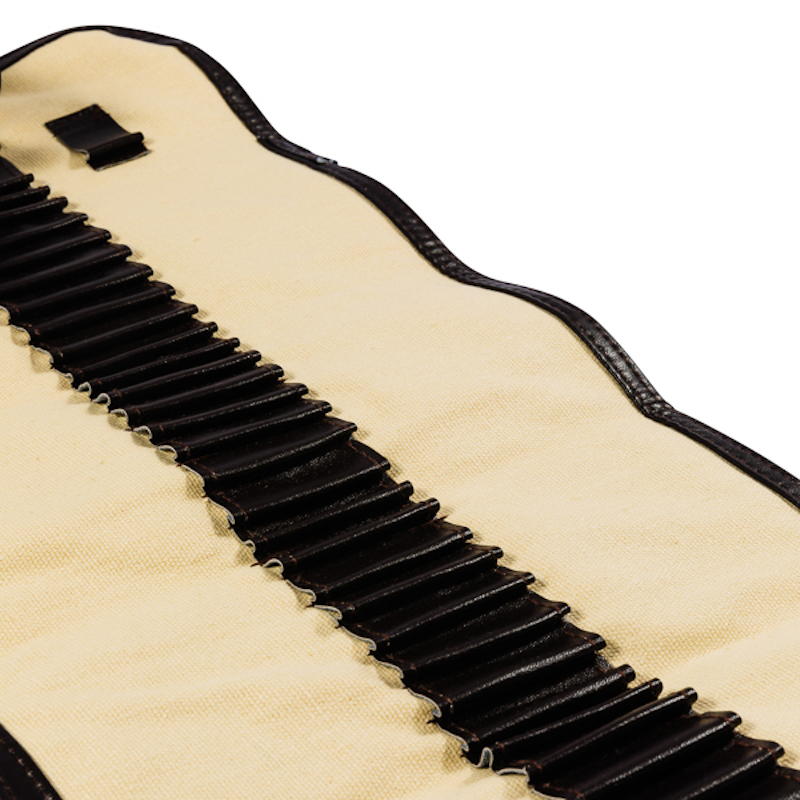
Safely Store Sharpened Pencils: A freshly sharpened pencil may be incredibly satisfying, but it is vulnerable (and somewhat dangerous), so we'd recommend using a pencil cap, wrap or case when travelling or storing pencils, to help protect both these fragile tips & you.
.
Common Sharpening Mistakes to Avoid
- Do not to over-sharpen, as this can expose too much graphite & lead to breakages.
- Keep an eye on your blade, using a blunt sharpener splinters the wood & damages the core.
- Be patient, sharpening too quickly fast increases friction, which can in turn weaken the graphite.
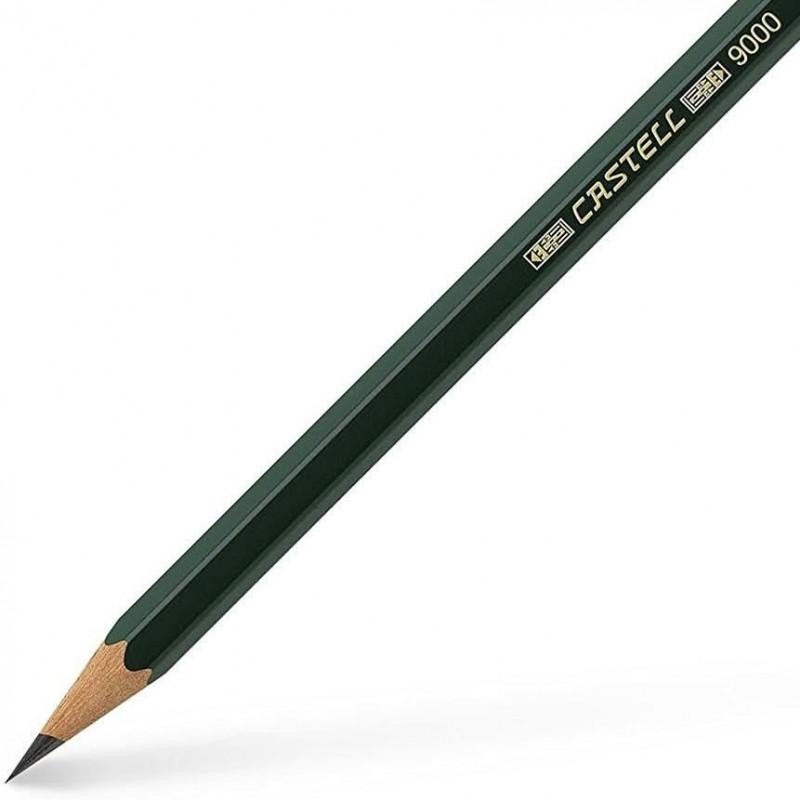
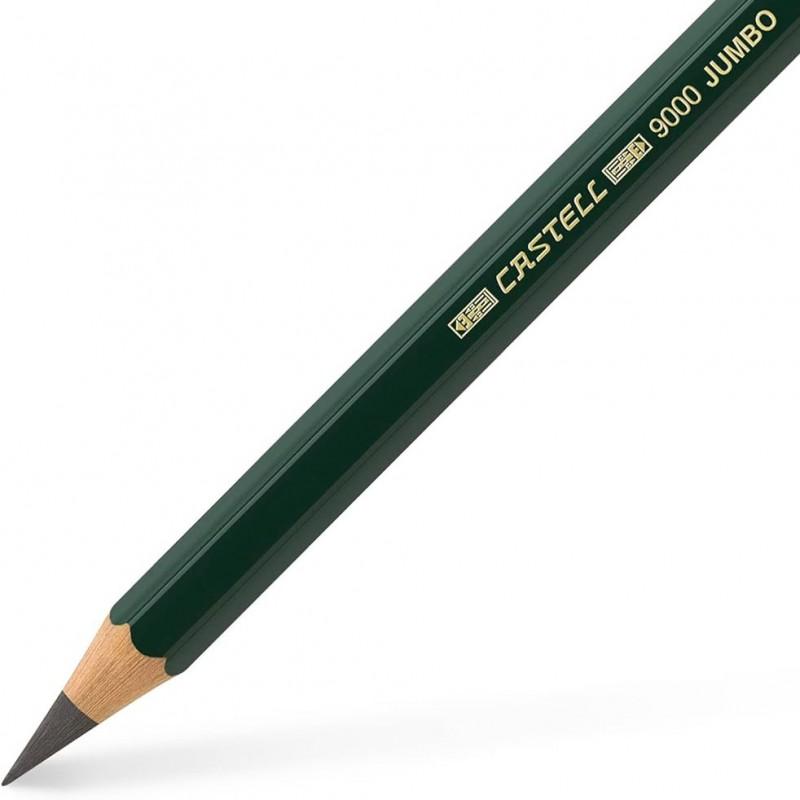
- Cheaply-made pencils affect even the best sharpener, for best sharpening results, opt for a higher-quality option (like the 9000 series from Faber-Castell, for instance).
.
Final Thoughts
Sharpening graphite pencils is an often overlooked aspect of the creative process.
Seemingly simple & straightforward at first, when done incorrectly, it can actively affect not only your pencils, but your work overall. Finding the right sharpener, observing proper technique and being mindful are vital for smoother marks, stronger points & a generally more enjoyable drawing experience for all.
.
Ready to sharpen up your game?
Looking for more? Check out our Artists' Accessories, where you'll find sharpeners of all kinds, along with a variety of useful tools, storage solutions and more!
.