


Recently finished an acrylic painting? Want to keep it forever? Then it’s absolutely vital to protect it from various possible damaging elements including dust, sunlight & discolouration by simply applying a final layer of varnish.
An added bonus? A layer of varnish can also bring out the depths of your colours (and, let’s face it, adding a little extra shine to a finished piece never goes amiss!).
Types of Varnish for Acrylic Paintings
What can be confusing is the sheer multitude of varnishes out there, each with differing results, sometimes even able to alter how colours are represented!
So… right now, you may be asking yourself; “Which one is the right one?”.
We’re not here to tell you directly what to buy, but to give you the information needed to make an informed decision. After all, art is a matter of personal preference.
So… a better first question might be; “Which one is the right one for me?“.
Generally speaking, regardless of brand or medium, you’re going to continually come across several types of finish:
Gloss: Dries to a bright, vibrant shine, helping to bring out the vibrancy & richness of colours.
Matte: Soften & subdue your shades by creating a smooth, even & “contemporary” finish.
Satin: Difficult to put into words… sits comfortably somewhere in between Gloss & Matte.
You may come across a term or two on your travels that you’re unfamiliar with. Two common ones worth noting are just below:
UVLS (Ultra Violet Light Stabilizers): Varnishes containing this will provide further protection from UV light & help prevent colours from fading in sunlight. Golden Acrylics produce both Polymer & Solvent based versions.
Resin / Resin-Based Varnish: These are extremely hardwearing & versatile, able to be used with a multitude of mediums & on many surfaces. Whilst that does sound like an attractive prospect, one downside to note is that they require a slew of additional materials, such as a solvent, to both thin & clean.
Varnishing Equipment
Below is a short list of recommended materials, in order to varnish and protect your masterpiece.
- A clean container, like a glass jar or plastic cup
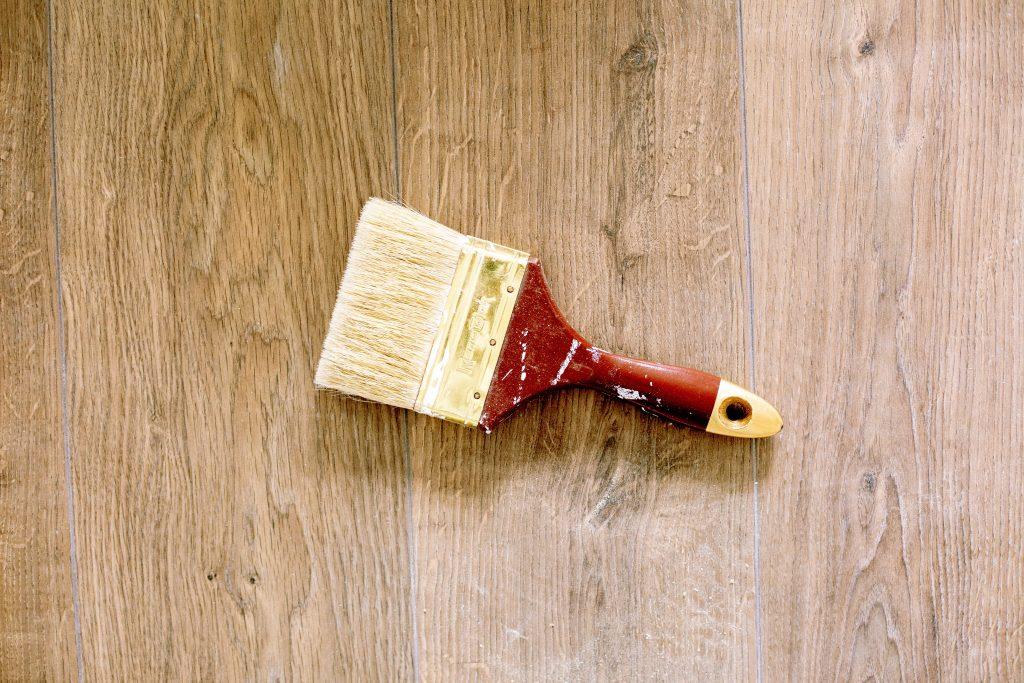
- A clean, soft, flat brush (e.g., Brights, Flats & Mottlers)
- And, surprise surprise, your painting
It is important to be sure that the container & brushes used are clean, as any flecks of dried paint can enter your varnish, ruining the smooth, uniform finish you’re looking for.
The best way to avoid this catastrophe is to keep any varnishing materials isolated from the rest of your art supplies. This includes having specific, separate brushes & containers for future varnishing projects.

How to Varnish an Acrylic Painting
As with all things in life, the perfect, smooth layer of varnish can only really be achieved through practice.
Thankfully, to get you started, we’ve made a short, simple guide. If you follow our advice, you’ll avoid some of the mistakes & traps that plagued the ones who came before you (namely, us!).
1. Preparation
The all-important first step?
Always remember to wait until your painting is completely, entirely dry before applying any kind of varnish layer. When it comes to acrylics, even though they do typically dry a lot faster than many other mediums, don’t be tempted. Even if your paint is only mildly wet, you’ll create streaks when you apply the varnish.
So, it’s always best to play it safe… after all, surely you don’t want to go wasting all of that time and effort!
Once you’re absolutely certain your work is finally dry, before applying anything else, you’ll also want to give your piece a light brushing. This helps to make sure the surface is free from dust, hair & various pieces of whatnot.
2. Isolation Layer
Put simply, an isolation layer acts as a barrier between your work and the varnish.
This can help ensure the varnish sits flat, helping to create a smooth finish. Also, should you ever choose to use chemicals to remove the varnish, it will work to prevent any damage to your painting. Typically, a soft acrylic gel medium is a prime choice for an isolation coat, for example, the Soft Gloss Gel from Golden
You’ll need to mix your medium with water to achieve the required viscosity for painting. The trick is to avoid over-mixing, otherwise, you’ll create air bubbles in the liquid (don’t worry though, you can always check the medium packaging for specific directions, if necessary).
Once you have it fully mixed, lay your work flat on a covered surface, or somewhere you don’t mind getting messy. Starting first from the centre of your artwork, begin applying the gel layer, brushing outwards towards the edges.
Normally, one coat will do the job, but more absorbent surfaces may require two. Leave the isolation coat to dry for at least 24 hours.

3. Varnishing Your Painting.
Next, you’ll need to dilute your varnish with water.
Grab a clean glass jar or plastic cup (something shallow is best, to avoid losing your brush in the solution & causing more dripping).
Again, as before, if you have any questions or concerns, the best bet is always to follow the instructions on the varnish bottle itself.
Starting again from the centre, begin applying the varnish in thin layers, working outwards to avoid drips down the sides of your canvas.
For larger pieces, halving or quartering your work could be a good idea. This would both help to ensure you’re not layering too much & help you to work with the shapes in your piece.
Be sure to apply multiple coats, using the guidelines listed below:
- Gloss: 2 or 3 thin coats
- Matte & Satin: 2 coats
Remember to leave roughly 4-6 hours between coats.
4. Dry.
We’ve all seen the videos online of people using hairdryers & heat guns to “quick dry” their varnish. The safer bet (and really, what you should do!) is to leave your work for around a week to fully cure and dry all of the applied layers.
During this time, it’s often a good idea to cover your work with something, like a box or screen. While the varnish is drying, it is incredibly sticky & this would help stop dust particles, animal hair or anything else floating around from landing & sticking.
The last thing anyone wants is furry varnish.
5. Display.
Congratulations! Your masterpiece can now be displayed wherever you please, with no worries about scratches, sunlight or yellowing at all!
From acrylic varnishes to specialist brushes & quirky gift ideas for the creative in your life, you’ll find anything you need at Cowling & Wilcox, all at fantastic prices.
If you would like to learn more techniques, explore the rest of our blog for more tips!
< Back to blog