How To Clean Oil Paint Brushes
A Step-by-Step Guide
When it comes to painting, especially with oil colours, a good set of brushes are an essential tool in any artist’s arsenal & keeping them clean is key to maintaining consistency in your work.
Oil paints, as beautiful as they are, can negatively affect brushes by causing their bristles to stiffen, discolour or dry out. This is why it’s so important for every artist working in (or adopting) oil paints to understand how best to clean, maintain and monitor their brushes.
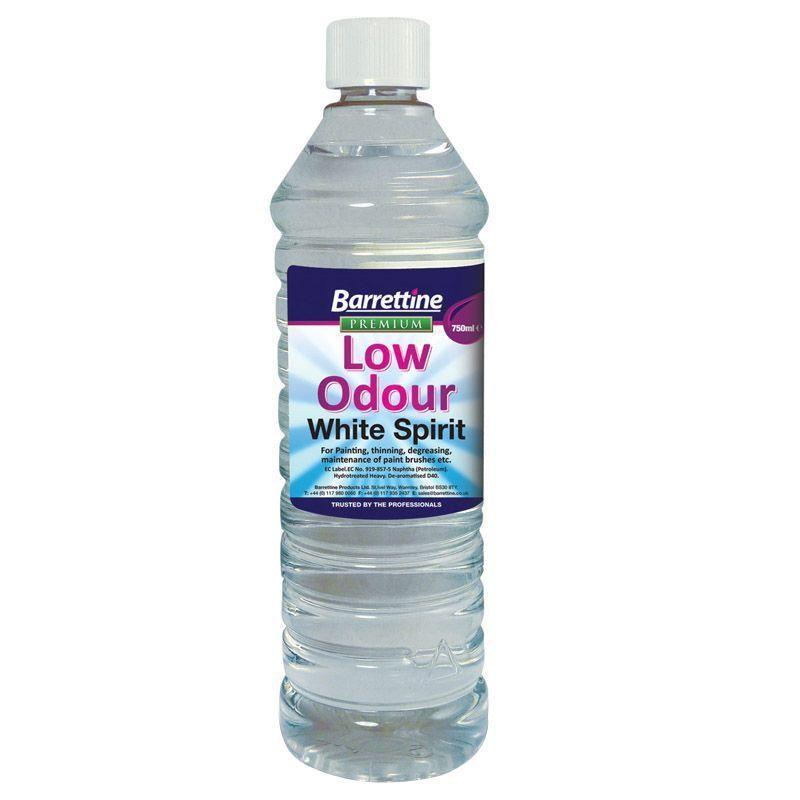
Whilst solvents like white spirit or turpentine are traditionally the go-to for this, nowadays, there are an exciting variety of modern, less harsh options available to artists.
This handy guide will walk you through the cleaning process of your oil paint brushes, discussing the benefits of different methods and materials, to ensure you can clean with confidence.
Why It’s Important to Clean Brushes Thoroughly
A good set of brushes can last an artist years, decades even, if properly cared for.
Oil paints (along with acrylics, watercolour and gouache) become much harder to remove once dry, so the best habit to adopt is to clean your brushes thoroughly immediately after a painting session, as this actively prevents pigment build-up and potential future issues.
If you’re planning to continue where you left off the next day, wiping off any excess paint & dipping your brushes in Linseed Oil will temporarily preserve them. Just keeping mind that Linseed Oil will also slow the drying time of the paint itself.
What You’ll Need
To make sure you’re never caught out with dirty brushes, we recommend the following materials to keep around your home, studio or classroom.
- Paper towels
- Clean, warm water
- Gloves (for solvents)
- A comb or old toothbrush
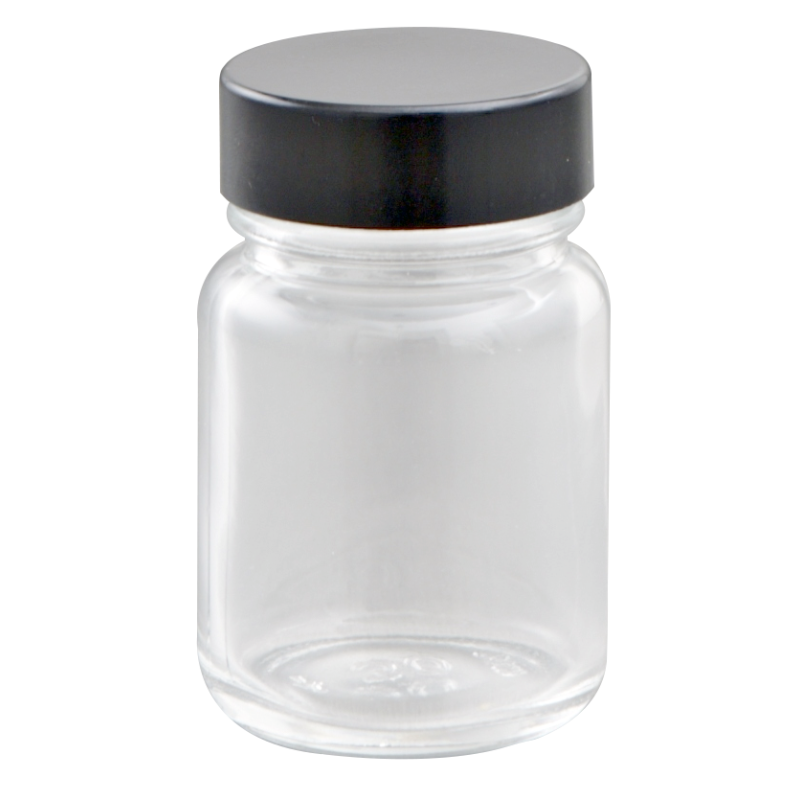
- Two jars or containers (not plastic!)
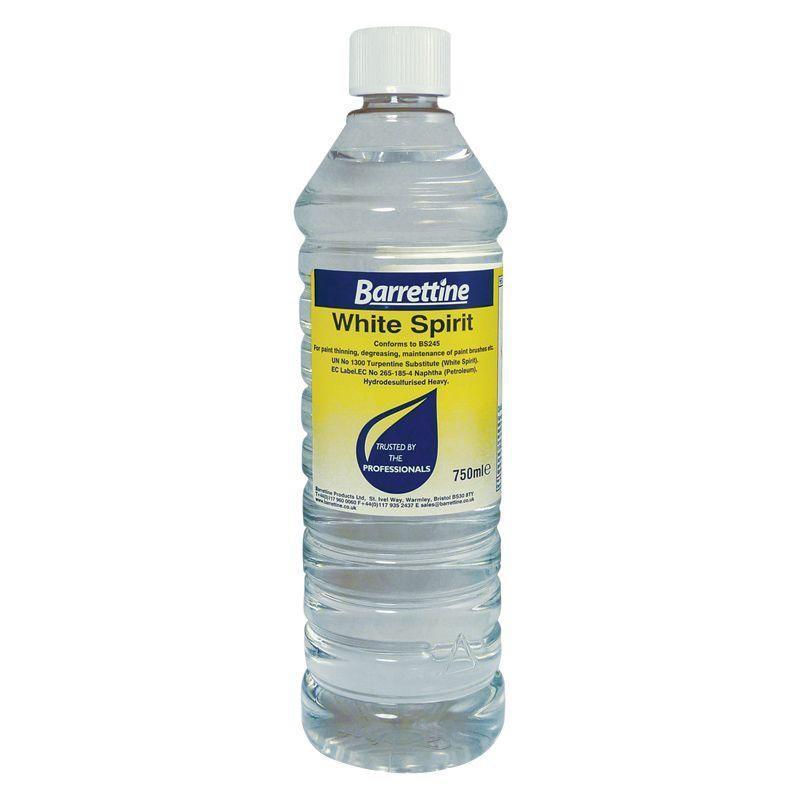
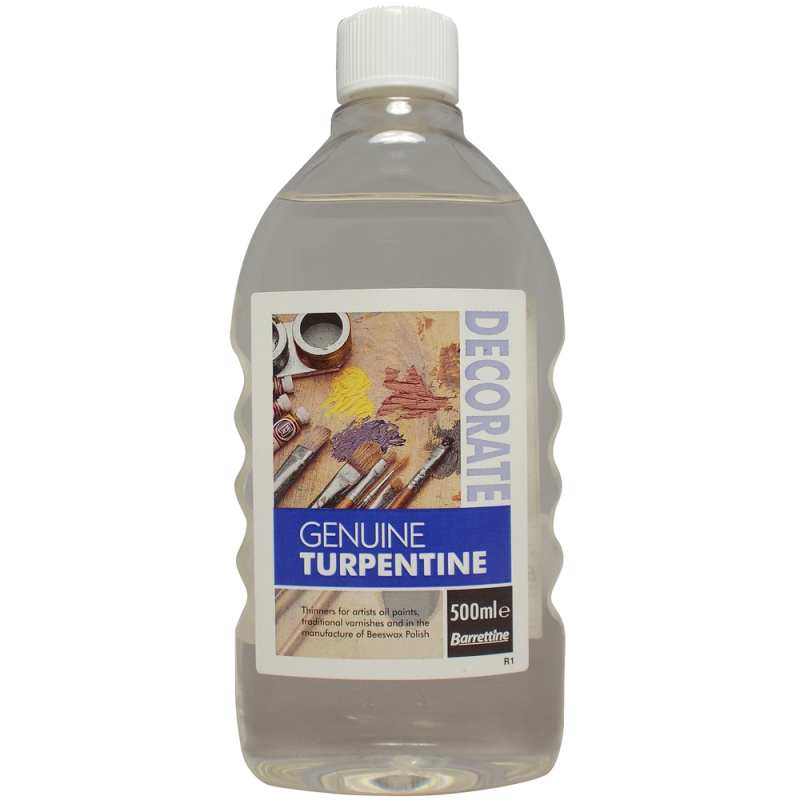
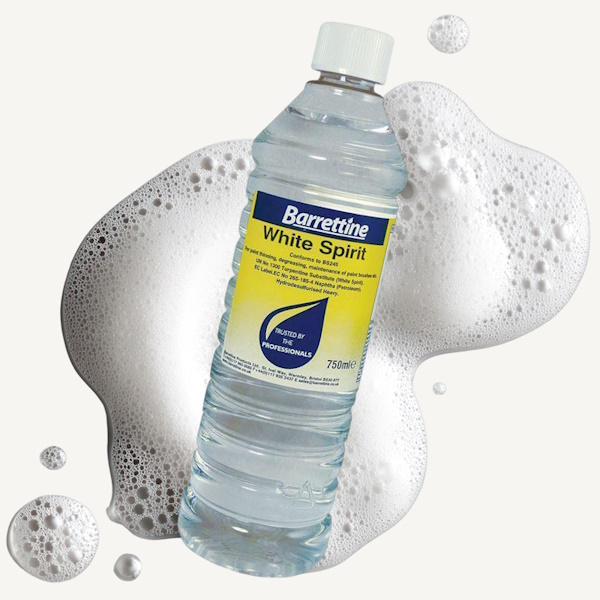
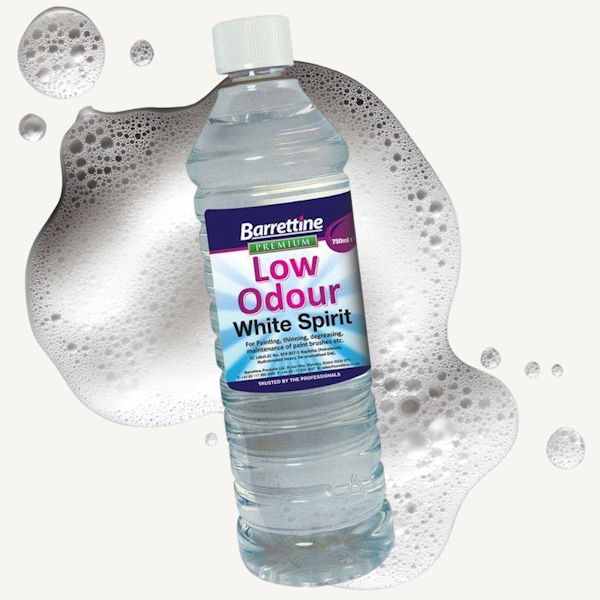
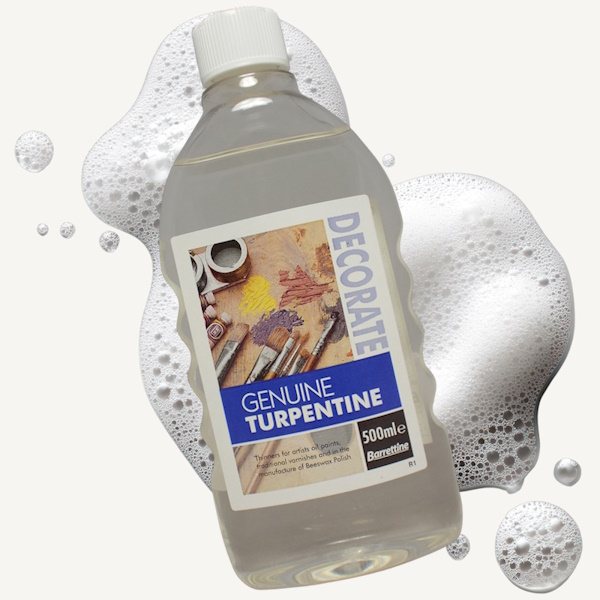
- A solvent, like Genuine Turpentine or White Spirit
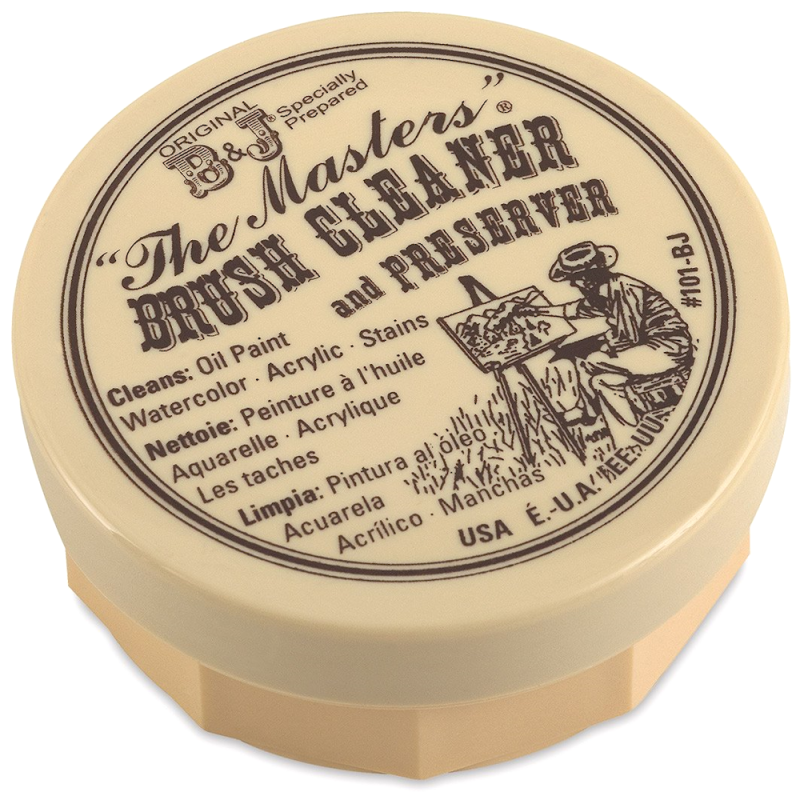
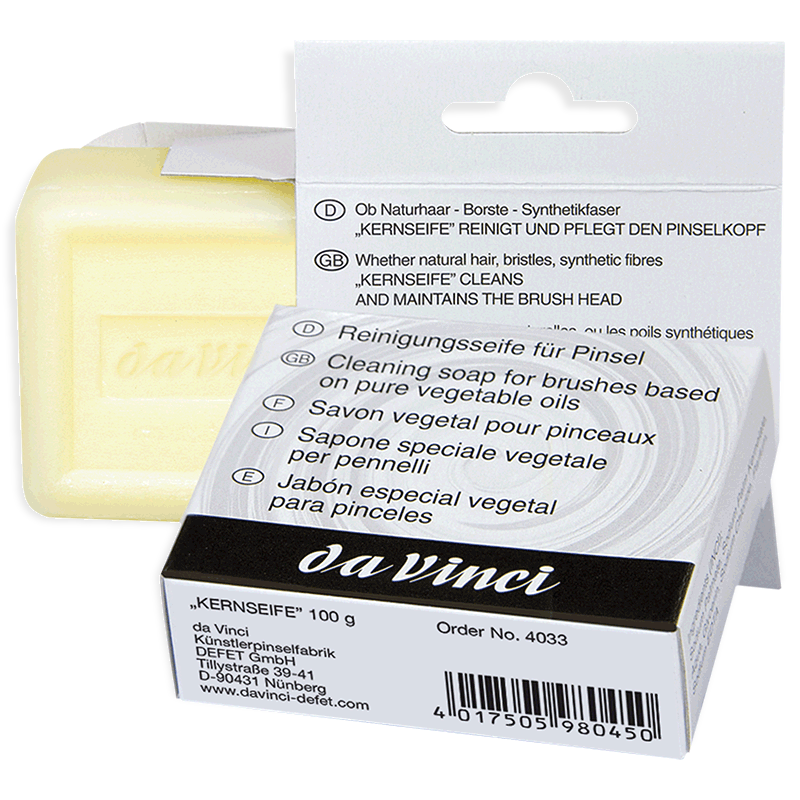
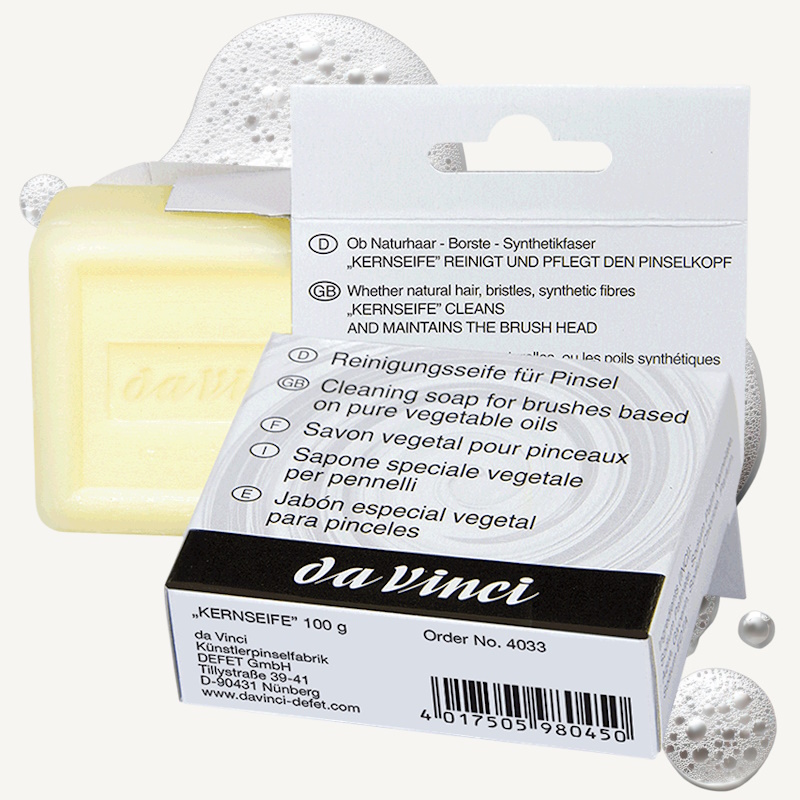
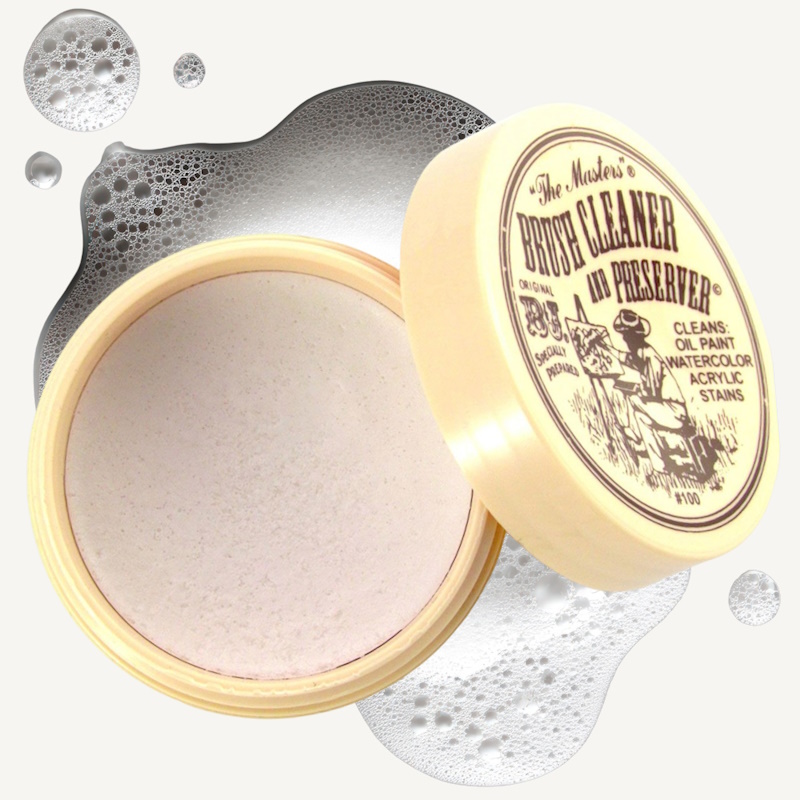
- A natural cleaner, like Da Vinci Brush Soap or Masters Preserver
Step-By-Step: Cleaning Oil Brushes with Solvents
Let’s begin with the classics & discuss how best to clean oil paint brushes effectively & safely with solvents like white spirit or turpentine.
Step 0: Pre-Clean (remove excess paint)
- Before using any solvent, remove as much paint as possible from the brush.
- Using a paper towel or rag, squeeze & wipe the bristles until little paint remains.
- Taking the above steps prevents contaminating your solvent too quickly.
Step 1: First solvent rinse
- Pour some white spirit or turpentine into both jars.
- Take your first jar and begin swirling your brush in the solvent
- Occasionally press the brush gently against the bottom to release pigment.
- Be gentle, excessive force can potentially bend or fray the bristles.
- After a few seconds, wipe the brush on a clean rag or paper towel.
Step 2: Second solvent rinse (for deep cleaning)
- Now you’ll take your second jar of clean solvent for a more thorough rinse.
- Swirl your brush in the solvent once again to loosen any potential excess paint.
- Take a fine comb or toothbrush & loosen any dried paint near the ferrule.
- Once your brush looks clean, use a paper towel or rag and wipe off excess solvent.
- If you find paint still comes out, repeat this step until the solvent remains mostly clear.
Step 3: Dry and reshape
- Grab yourself a fresh, clean paper towel or rag.
- Gently squeeze out any excess water from your bristles.
- Carefully (and slowly) reshape the bristles into their natural form.
- Lay the brush flat or hang it bristles-down and allow it to dry completely.
Tip: When drying, hang your brushes or lay them flat to prevent permanent bending or fraying of the bristles. This also stops any solvent from seeping into the ferrule, as this can loosen the glue & bristles over time.

Step-By-Step: Cleaning Oil Brushes without Solvents
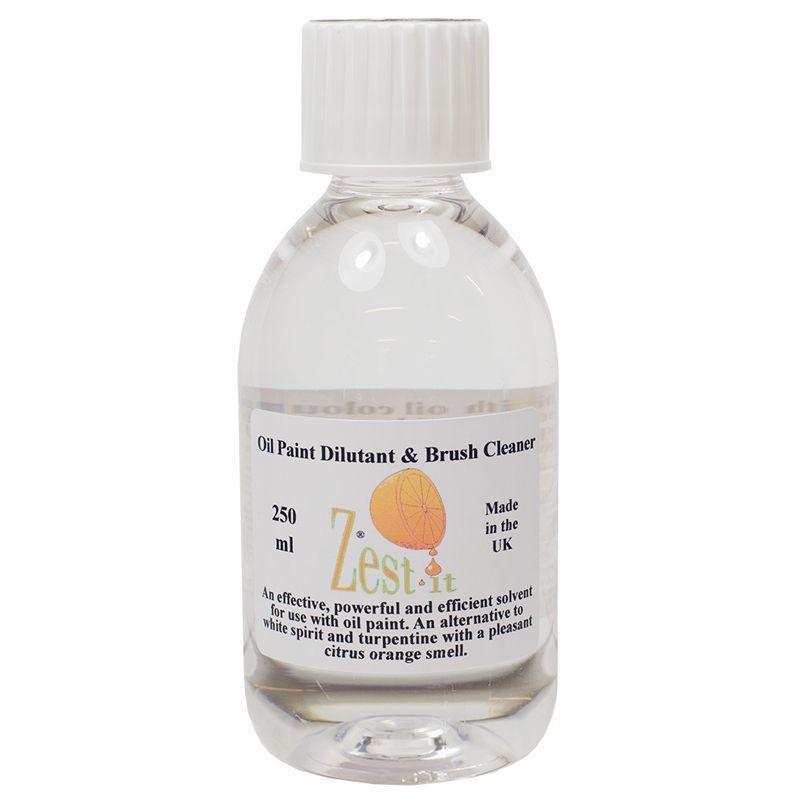
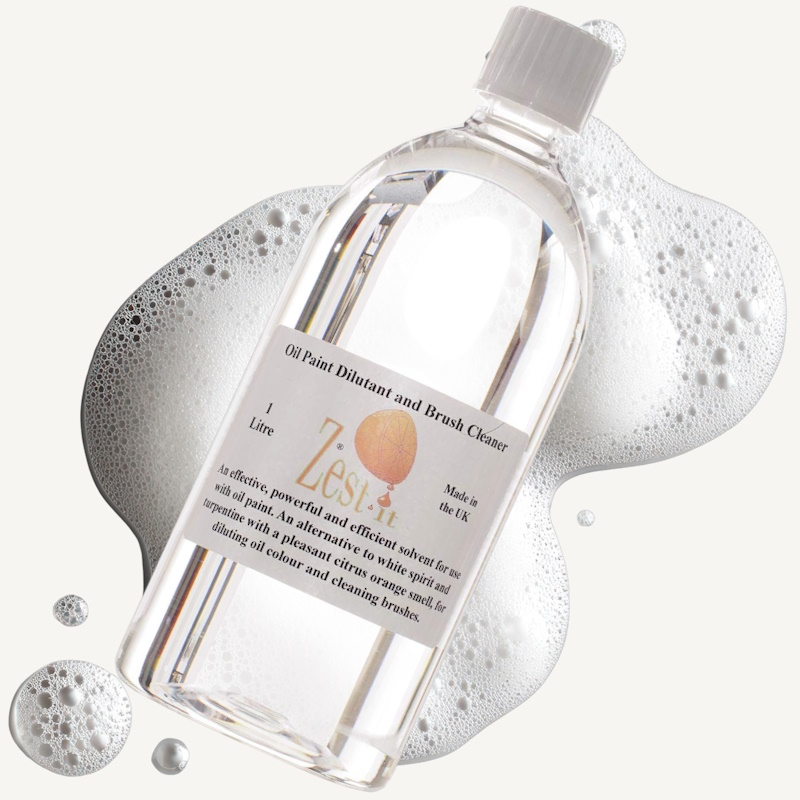
If the thought of using harsh chemicals has prevented you from exploring oil paints in the past, whether that be due to health concerns or personal taste, there are several not-so-harsh options out there for you to explore like the Zest-It range or Masters!
Step 0: Pre-Clean (remove excess paint)
- Before cleaning, remove as much paint as possible from the brush.
- Using a paper towel or rag, squeeze & wipe the bristles until little paint remains.
- Taking the above steps reduces the workload for your cleaners.
Step 1: Using Zest-It Brush Cleaner
- Fill your jar with a little Zest-It.
- Begin gently swirling your brush in the cleaner.
- Occasionally press the brush gently against the bottom to release pigment.
- Using a clean paper towel or rag, begin wiping off any loosened paint from the bristles.
- If paint still appears, repeat the process in some fresh Zest-It until removed.
Tip: Zest-It is designed to leave no residue & remain reusable. After settling, any pigment will sink to the bottom, allowing you to decant the cleaner from the top without worry. For more on Zest-It, check out our previous blog covering this whole amazing range in detail!
Step 2: Deep Clean & Condition with Da Vinci Brush Soap
2A: Lathering Your Brush
- Swirl or gently rub your brush on the surface of the Da Vinci soap bar.
- Move the brush in circular motions, working the soap up into a rich lather.
- For flat brushes, use gentle back-and-forth strokes across the bar.
- You’ll start to see pigment being drawn out into the soap.
2B: Work the soap through the Bristles
- Using a comb, or fingers, massage the lather through the bristles.
- Don't forget to clean near the ferrule, as paint often dries & accumulates here.
- Keep the brush pointed downward so loosened pigment doesn’t run into the ferrule.
2C: Rinse & Repeat
- Rinse your brush with clean lukewarm water.
- Wipe off with a paper towel, cloth or rag.
- If colour still appears, repeat the above process.
Tip: Once you’re happy that your brush is spotless, leave some Da Vinci Brush Soap in the bristles. This not only conditions the bristles, ensuring they’re soft and malleable, but allows you to mould the brush and prevent fraying.
Cleaning Oil Brushes: Final Thoughts
Whilst it may seem a menial task, maintaining your brushes is an essential step for any oil painter, acrylic artist or watercolourist dedicated to the craft.
As with any creative endeavour, it’s all about trial & error, so feel free to experiment with different variations out there like Master’s Brush Cleaner, Sansodor or Gamsol Mineral Spirits to find the right tools for you.