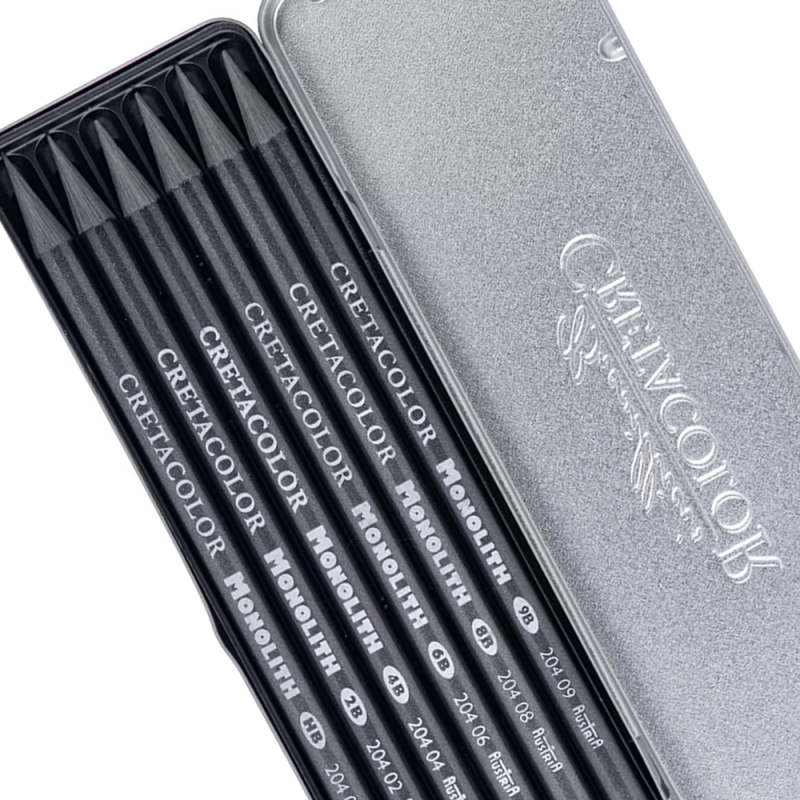
We all know that the art world has a unique way of seeming both super simplistic & curiously complicated. However, if you’re anything like us & enjoy sketching, perhaps it’s time to consider trying something new and interesting? For instance, learning shading techniques using graphite pencils.
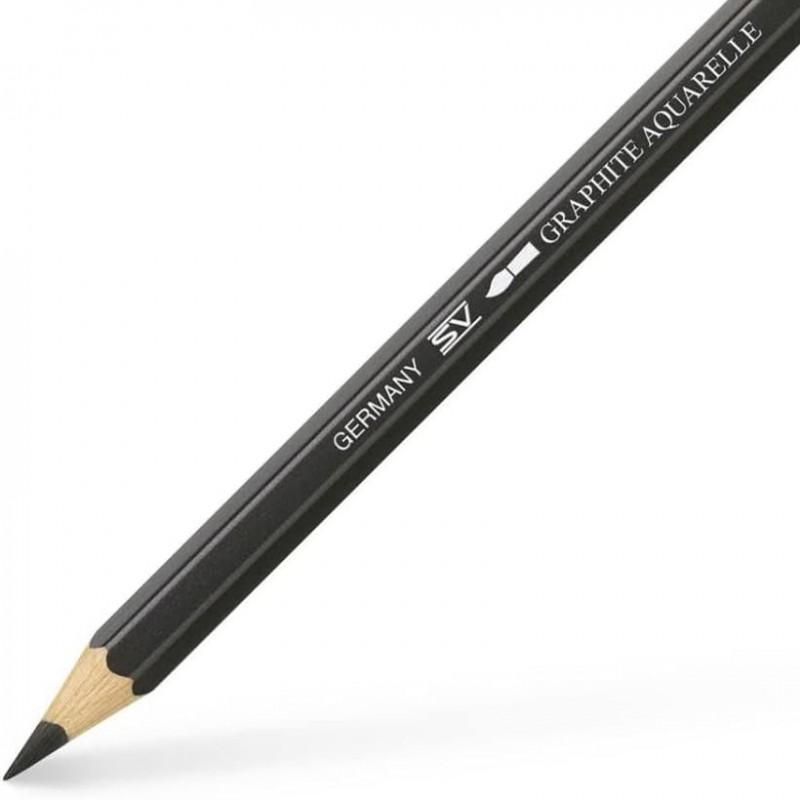
Standard artist pencils have their limitations, especially when working in a black & white medium. But graphite pencils are much more versatile, making them ideal for both beginners & for any kind of experimentation.
We all know that it may feel daunting to start with a new medium like graphite pencils, but if you follow our guide then you’ll be shading like a pro in no time. After all, with the right tools & a little practice, we can all produce good art, no matter who.
Sharpening Graphite Pencils for Shading
Believe it or not, but there is a “correct way” to sharpen graphite pencils. This involves whittling away the wood & leaving a long piece of graphite intact. This ultimately has the effect of giving you the ability to use the fine point to draw sharp lines & the longer side to better control shading in your artwork.
Sharpening your pencil in this way allows you to add depth to your artwork with effortless blending & smudging. At first, your shading may look light, but using this technique allows you to build these lighter layers and control the different levels of light and darkness with ease.
The Sharpening Process
For this method, a standard or ordinary sharpener alone won’t do the trick, so you will need to know how to sharpen a pencil without a sharpener.
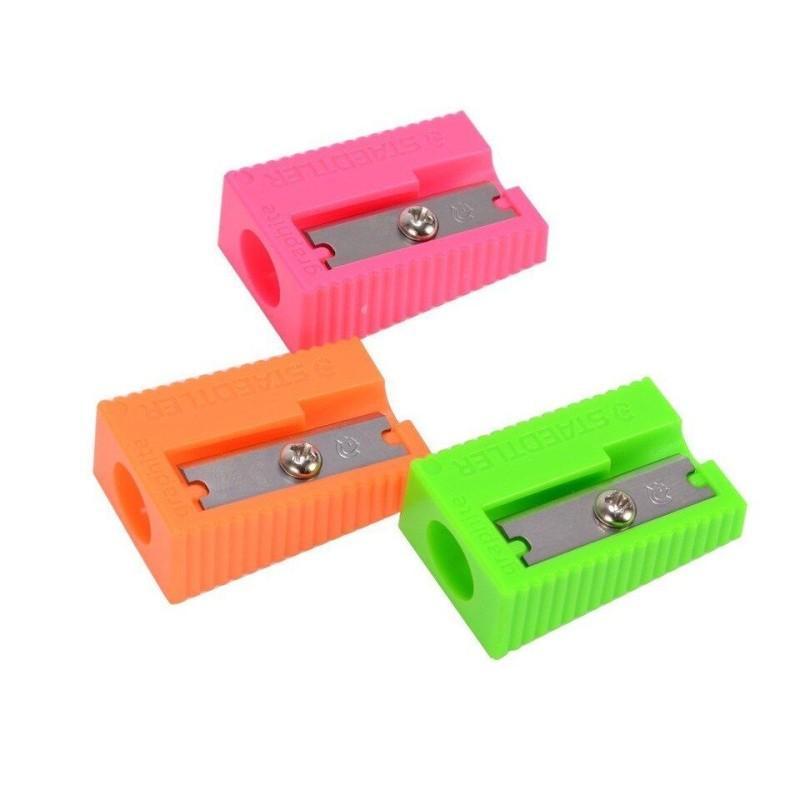
That’s not to say that sharpeners don’t have their place, even here. For instance, you still need a point to make your pencils more suitable for these shading techniques, so if you’re using a brand-new pencil & it’s blunt, then you’ll need to start the process with a regular pencil sharpener to give yourself a point to work with.
- A standard pencil sharpener (for example, this Jakar Metal option)
- Utility blade or similar knife (like the Jakar Cutting Knife)
- Sandpaper with fine-grit (120)
If this is your first time sharpening a pencil with a knife, don’t get too frustrated if it doesn’t go to plan. Charcoal & graphite are both notoriously fragile, sharpening them does require skill, practice and most importantly, patience.
– Hold the utility knife in your dominant hand and hold the graphite pencil in the other.
– Scrape away the wood by carefully moving the knife from the unsharpened edge to the point of the exposed graphite (for safety, always move the knife away from yourself)
– Finally, use the sandpaper along the edge of the graphite to ensure smooth edges all around.

Handy Hints
These are both helpful with this process & good to keep in mind generally.
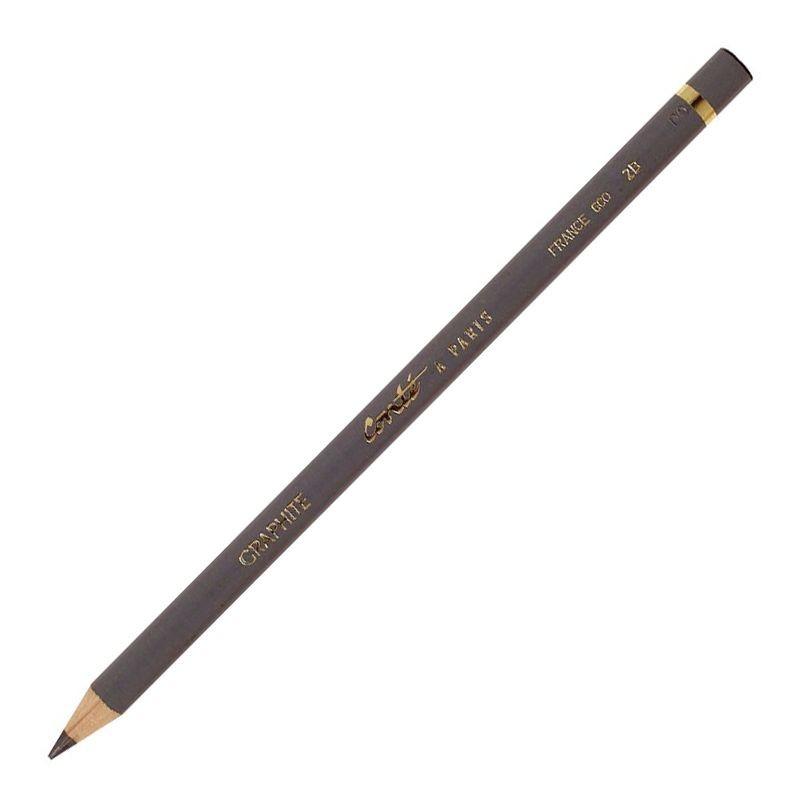
- For “woodless” or full graphite pencils and crayons, simply follow the above steps, disregarding any mentions of wood & being sure not to apply too much pressure.
- This can create quite the mess, graphite especially can take some time to clean from surfaces, so it’s maybe best to place down some form of cover, something as simple as a piece of scrap paper allows for much easier cleaning.
- Keep your motions long, slow & purposeful, removing only thin layers at a time. Not only is this generally safer, but it helps to keep the graphite intact.
- The ideal length of exposed graphite or charcoal is usually around half an inch.
- Remember to rotate your pencil while drawing, otherwise one side will wear down quicker than the others.
Now looking for some inspiration? Check out our top 5 charcoal artists to give you a taste of what’s possible with charcoal and graphite pencils. Take a look at some of the easiest pencil-sketching techniques to get started.
< Back to blog