All creative minds are different. Whilst some artists prefer to take photographs of their subjects & study them intensely over time, there are others who need to be “in the moment” when inspiration strikes, no matter where that may be.
For instance, if you walk anywhere near your home for 10-15 minutes, you’re sure to spot all kinds of fascinating scenery, architecture, people & objects of interest. And that’s where Portable easels come in, designed to be as lightweight & compact as possible, just for these occasions.
In this blog, we’ll be taking a look at a series of different types of portable easels, along with getting you started on setting up.
Types of Portable Easel
Portable easels are a little different to your regular studio easels. For a start, there’s a larger variety, all designed to cater to a different need, with each one having a slightly different setup method.
Whilst portable easels are themselves a category of easels, there are many different subcategories to consider. With a variety of sizes, styles & prices that can vary greatly from brand to brand. Trying them out yourself is the most traditional & still the best way to find the right one for you & your style. Cowling & Wilcox have 4 physical locations based both in London & Kent, if you’re nearby then swing by & have a look for yourself!
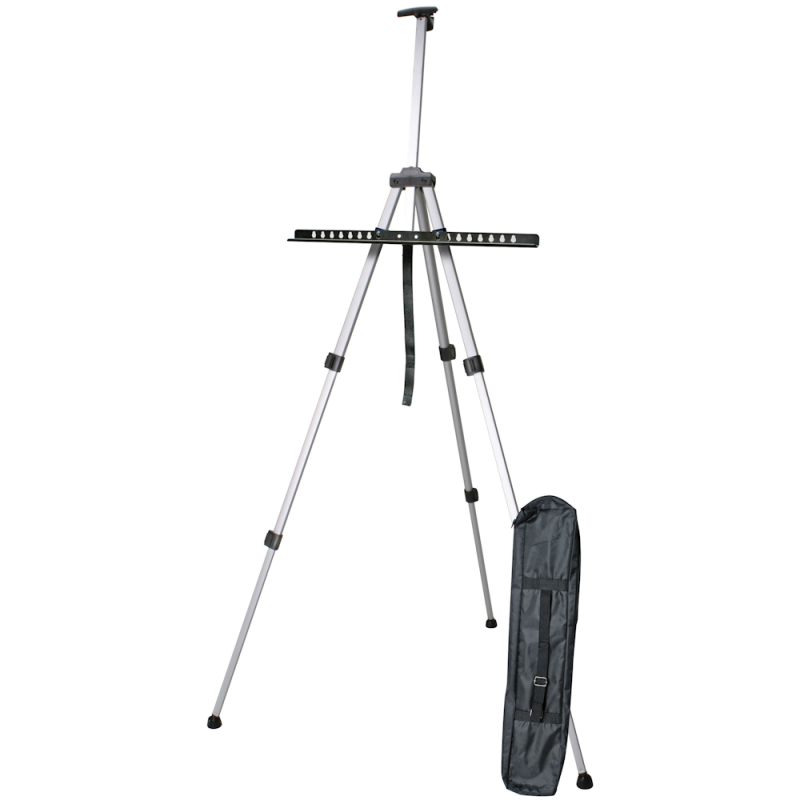
Field Easels
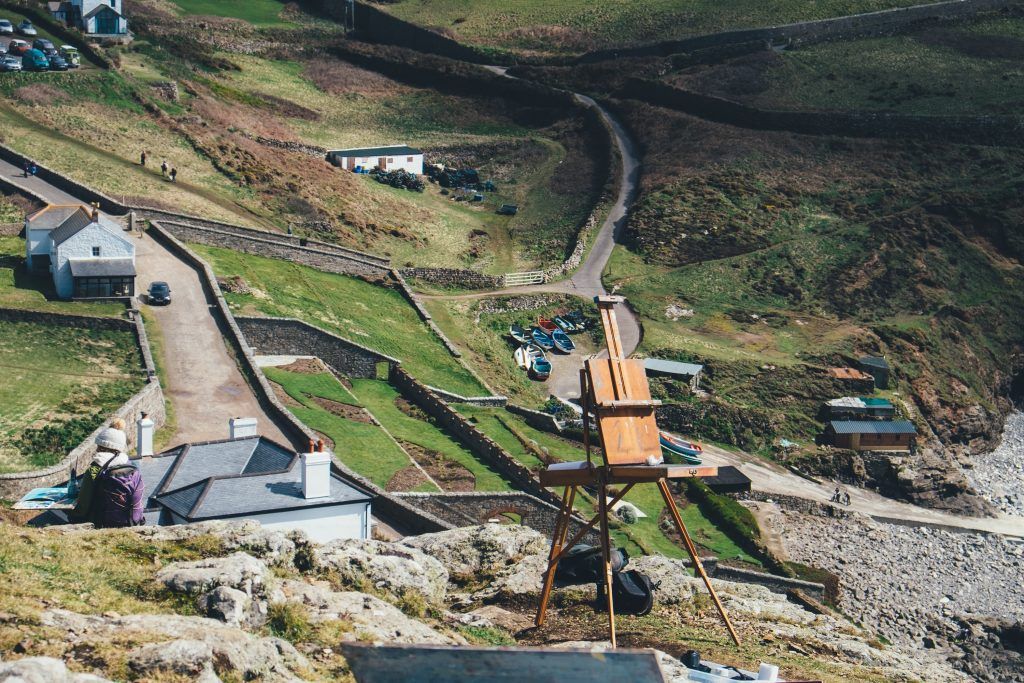
Lightweight, collapsible & on occasion including a carry case, Field Easels are designed specifically for convenience & portability. These are strong, sturdy choices for artists who prefer to work on-site. A perfect example of this, for a great price, would be the Daler-Rowney Simply Portable Field Easel.
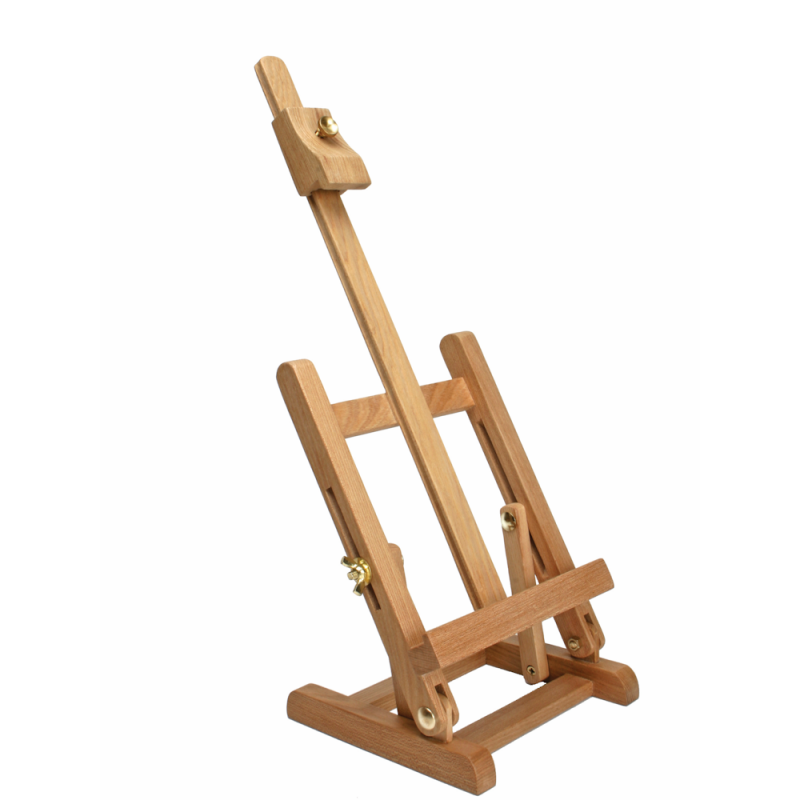
Mini Easels
Another great, portable, lightweight option, mini easels are ideal for whether you’re creating or displaying artwork. Sturdy for canvases up to around 30cm, the Daler-Rowney Simply Mini Table Easel is fantastic for beginners.
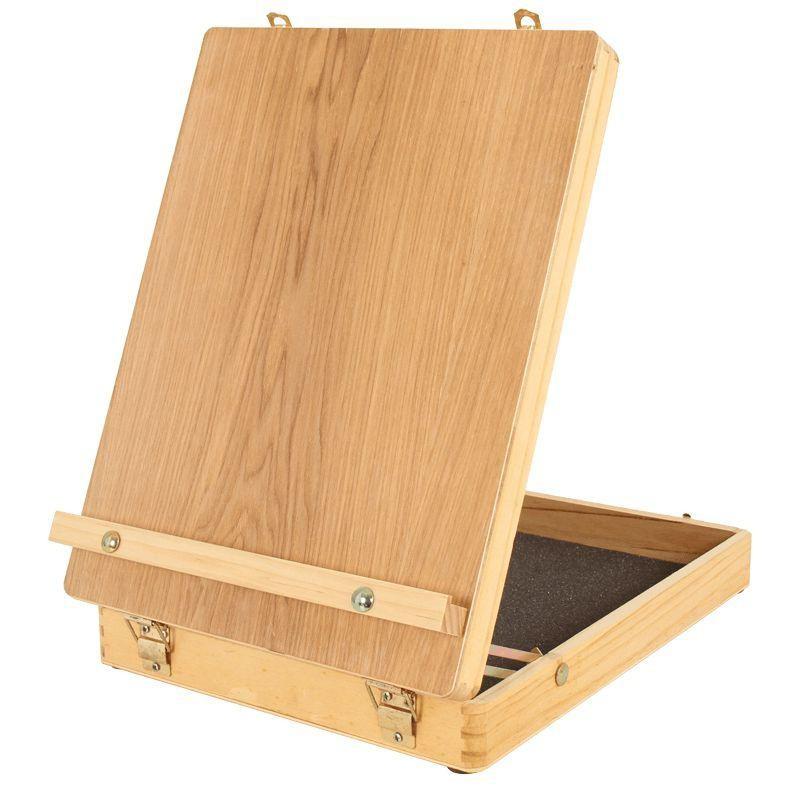
Table Box Easels
Table Box easels are exactly how you may imagine, given the name. Similar to their field & mini counterparts, their lightweight build makes them ideal for any artist on the go. However, they have the additional benefits of both a comfortable carry handle, along with internal storage for all of your various art supplies, with larger options even including partitions for better organisation. The outer area also includes a tray, to rest a canvas or pad, with some even including an extendable mast for additional support. The Cowling & Wilcox Beak Table Box Easel is a fantastic example of this form of easel.
How to Set Up a Portable Easel
With all of that out of the way, let’s go through the process of setting up a field easel. Keep in mind that different brands & sizes of easels could vary in set-up, plus as standard, most arrive with their own instructions. We simply want to demonstrate how easy these setups can be, by giving you some starting points for most types that you’ll encounter in the wild.
One: Unpacking
Your easel may arrive in a carry case, if so, the first step will be opening this up & laying out the various pieces contained. This gives you the opportunity to assess the condition of your parts & equipment, along with finding any additional instructions inside.
Most of these will be structured with 3 legs, already attached, ready to be extended for use, along with an additional length of metal to act as a detachable tray for your canvas. Of course, this is dependent on the type of easel you’re dealing with, though all portable easels are simple by design, so it will be easy to spot if any pieces are missing.
You may encounter extra plastic bags or a strap to keep all of the legs together when packed away – make sure to keep this strap, for easy packing away in future!
Two: Extend the legs
Now to ensure your easel stands at the desired height.
Most Field Easels, for instance, have several telescopic legs, able to simply slide out from their initial shortened length. Typically, this is achieved via clips or bolts that open or close to secure the leg in place.
Three: Widen the base
For a canvas to be sturdy on the frame of a Field Easel, the base needs to be widened, by separating the legs. Gently pull the angle of the metal legs, creating a triangular base by the easel’s feet. There should be an additional downward central leg (at the centre, or back), shorter than the rest. This will act as additional support for your canvas.

Four: Attach support
If your easel does have a separate metal strip, you should now be able to attach this to the front at the desired height, creating an “A” frame. This is typically entirely adjustable with clips or screws to fix it in place. Where you fix it will depend entirely on the size & weight of your canvas, plus of course, your own height.
Five: Adjust the central post
You can now lift and turn the middle leg, which should be shorter than the rest, to create a rest for your canvas. Normally there is also a mast, which can be extended to hold the top of your canvas, ensuring a good grip when working outdoors. This can be secured by clips or screws in the frame and moved in accordance to your or your artwork’s needs.
For a more visual guide, take a look at this quick and simple YouTube video.
Browse our wide range of easels, from a variety of fantastic brands, including Daler-Rowney, Jakar & our very own Cowling & Wilcox range, all at unbeatable prices!
< Back to blog