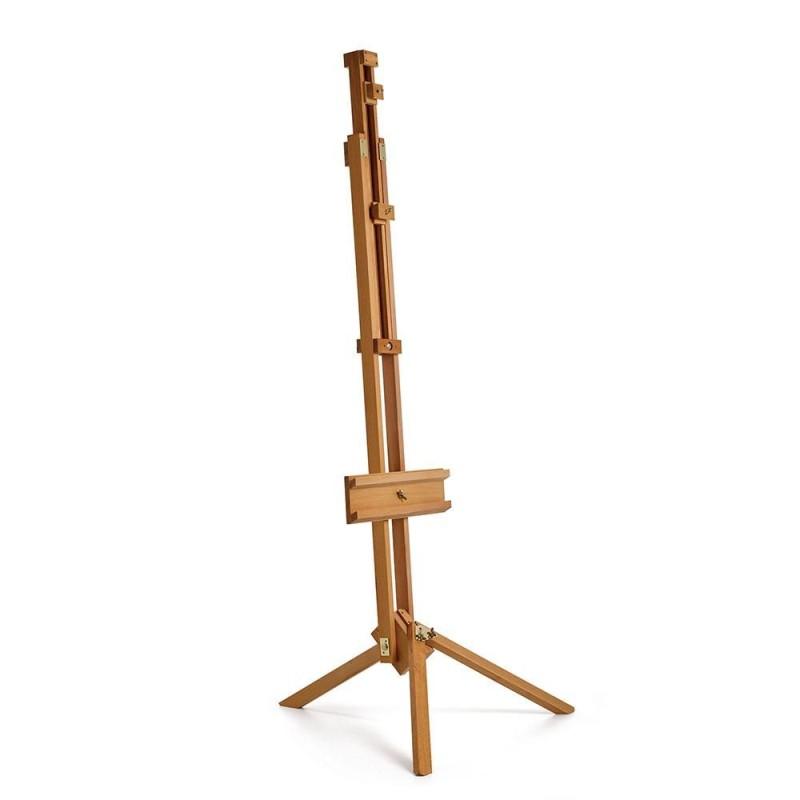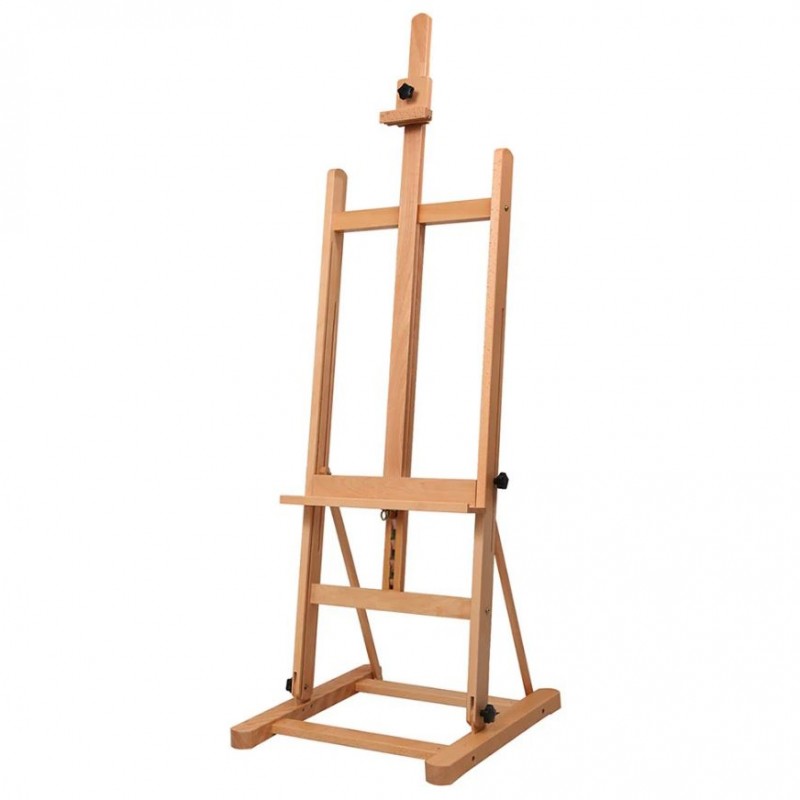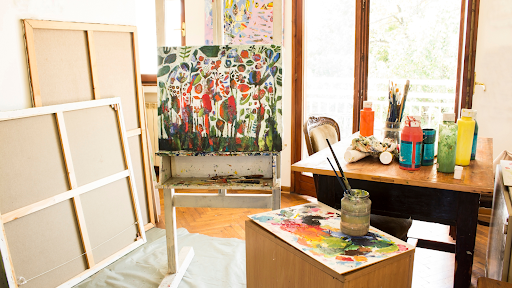
With such a wide variety of easels available, choosing the perfect one for you may take some time. Once you’ve finally found one, we’re sure that you’re going to be eager to start!
So here’s a quick guide on attaching paper to your easel, so you can start working on your next masterpiece.
Preparation
Before you can even start thinking of attaching paper to your easel, you have to ensure the easel is sturdy, set up correctly & ready to use. Thankfully, the majority of easels are simple to set up & with time and practice, you’ll be so familiar with yours, that you’ll be able to do it in seconds!
The next thing to do is check that the easel is comfortable for you. For instance, is it set to a suitable height & angle (if adjustable)?
Now (finally), you can find some paper.
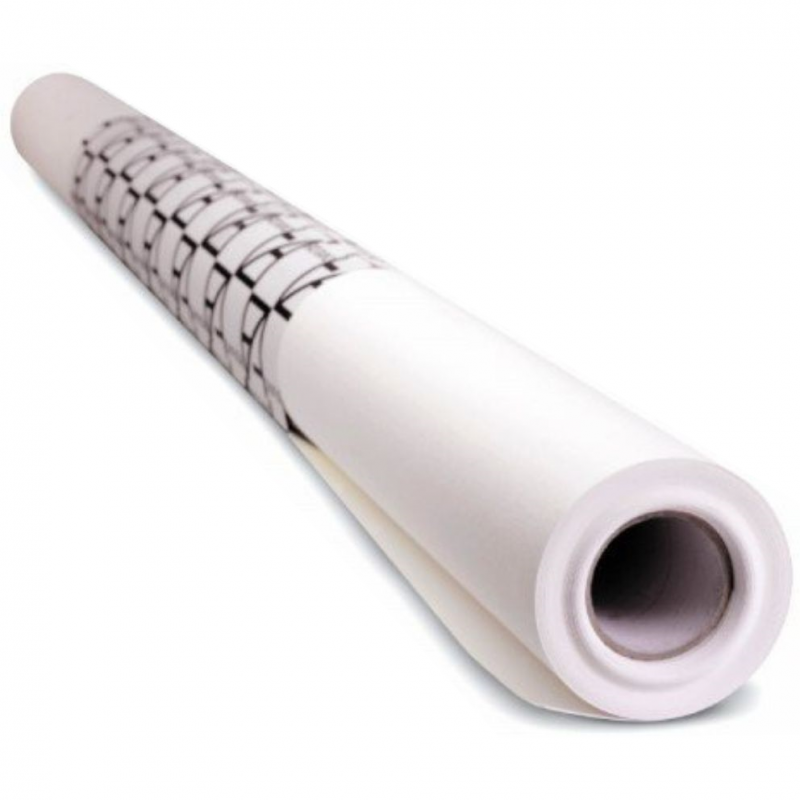
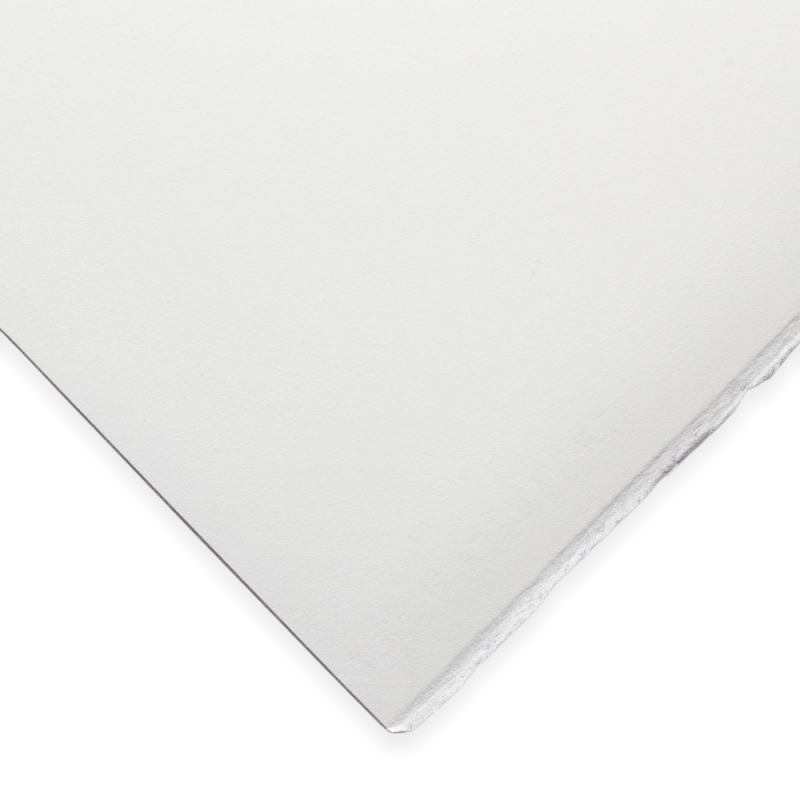
This is completely dependent on both your style & medium of choice. For example, if you’re using dry mediums like graphite or charcoal, you could simply cut lengths from a paper roll & get started. However, wet mediums such as watercolour or acrylic paints will need something more durable & purpose-built, so we recommend investing in some specific acrylic or watercolour paper.
How to attach paper to an easel
Because paper is not stable enough to attach directly to the easel, you will first need to temporarily mount the paper onto a drawing board. You can do this in a couple of different ways.
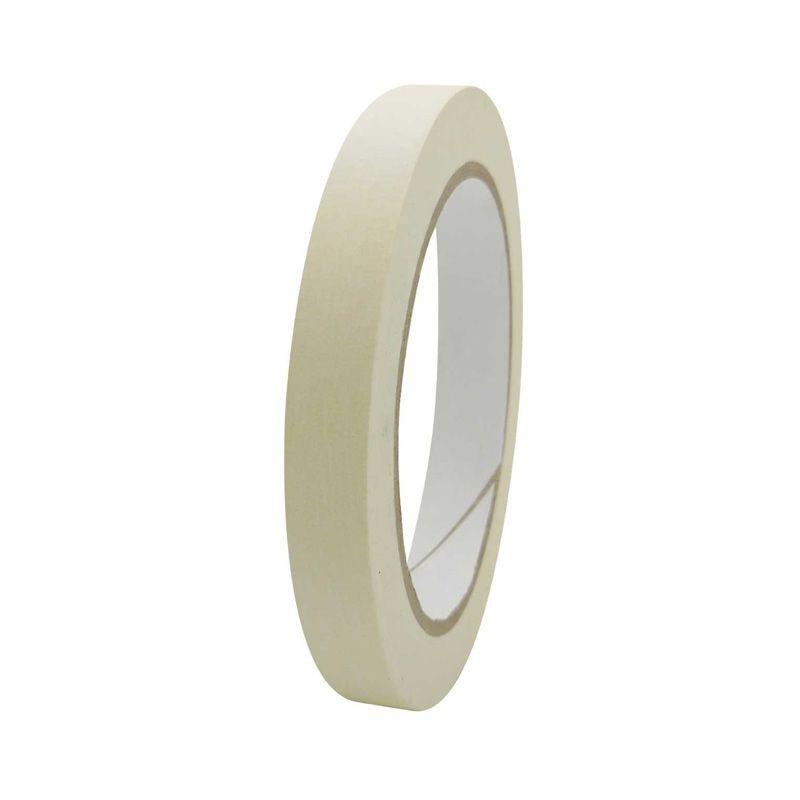
- Tape – Dependent on the paper, you could use either masking tape or standard sticky tape. Place your piece of paper in the centre of your drawing board and run the tape along all 4 edges of the paper, securing it down.
Pro tip: Always use a test piece of paper first! Attach your chosen tape and remove it, to ensure that the paper remains undamaged. Good-quality artist papers should be unaffected by tape, but it’s always best to test first, instead of sacrificing your own artwork. Also, try to avoid bright coloured tapes, they can be distracting!!
- Clips – Foldback or spring clips are a good alternative to tape, able to attach your paper sturdily, whilst minimising possible damage. However, the downside is that these tend to be bulky & may get in the way when you’re working.
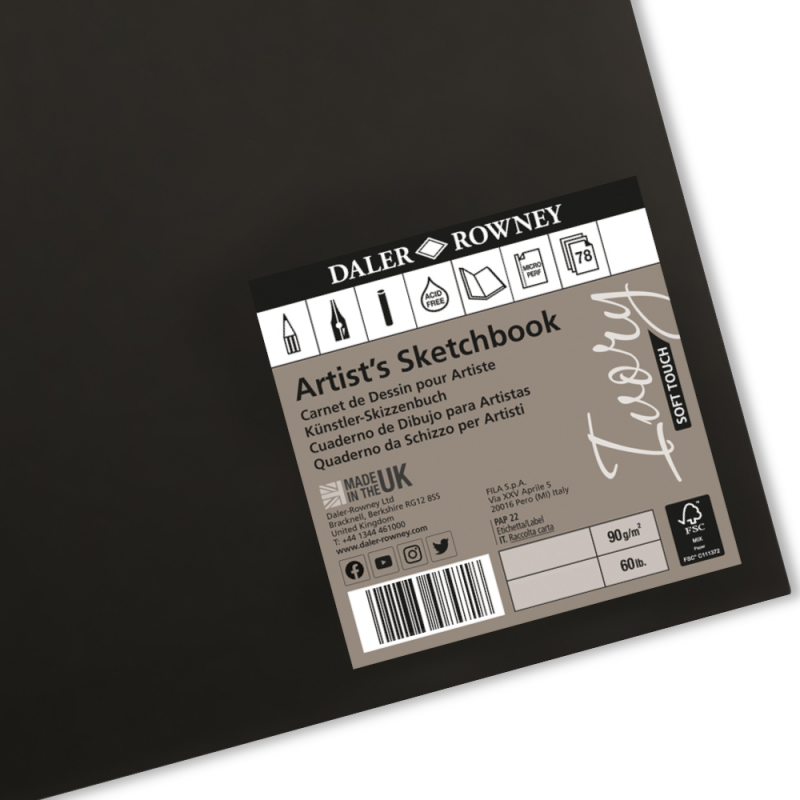
Alternatively, if you’re short on time & don’t have a specific piece of paper to hand, you could cut out the middleman & simply attach your hardback sketchbook directly to the easel.
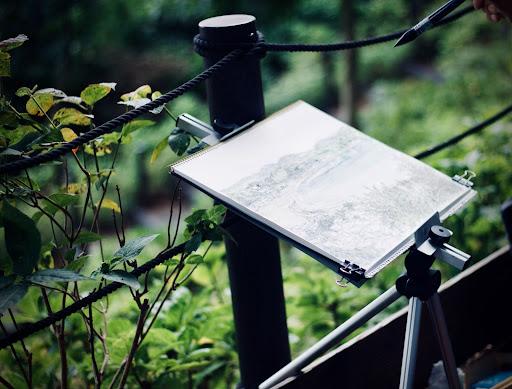
Now that your paper is securely mounted, it’s time to attach it to the easel.
Depending on the type of easel you have, you’ll find either arms, grooves or a tray to rest the board on, but you’ll soon see that these are all straightforward, so no need to panic! All you need to check is the mast & base, if needed, adjust these to size, place your board onto the easel & secure it into place.
And now, you’re ready to start!
Always wanted to paint on an easel, but not sure where to start? Why not explore our range today to find an easel that suits your needs & artistic preferences? If you have questions about our easels or anything else, simply pop into one of our stores or give us a call on 01303 290550.
< Back to blog