
Have you ever found yourself browsing for a canvas & thought; “Sure there’s tons of options, but I just can’t find the right one...”?
We've all been there, so why not take the initiative & stretch your very own? Not only is this a satisfying process, but it allows any artist to build a surface to their own specifications. Whilst it can appear complicated, if you have everything you need, then stretching your own canvas is simply a matter of patience, perseverance & a little elbow grease.
In honour of our newly expanded canvas range, let us walk you through a basic breakdown of the process, step by step.
.

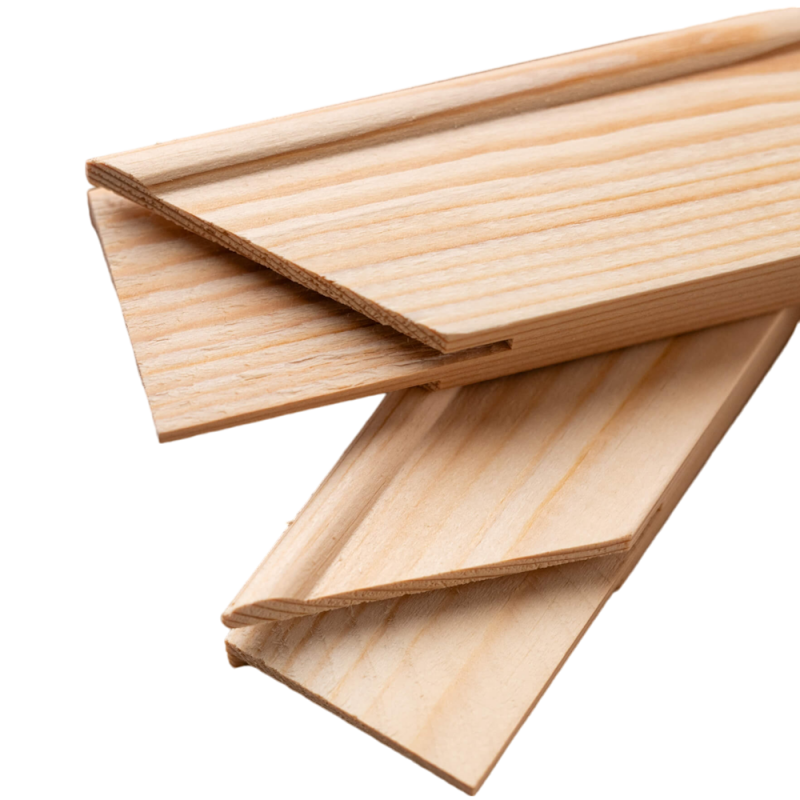
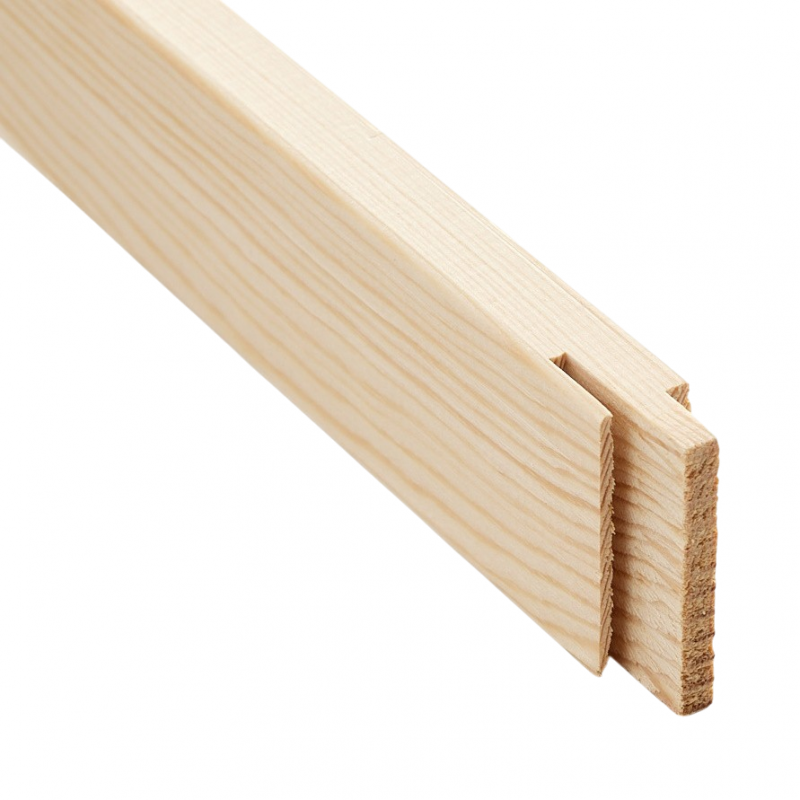
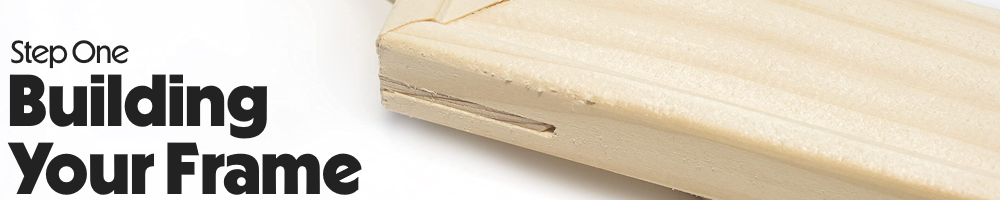
Stretchers
An integral part of the process, Stretcher Pieces form the overall frame of your canvas, with any standard canvas requiring a minimum of 4 in total. Made using sustainably sourced FSC-certified wood, our Stretcher Pieces are designed with an interlocking joint that allows them to slot together with ease.
Sold exclusively in pairs, they're available in a variety of lengths in both 19 & 38mm widths.
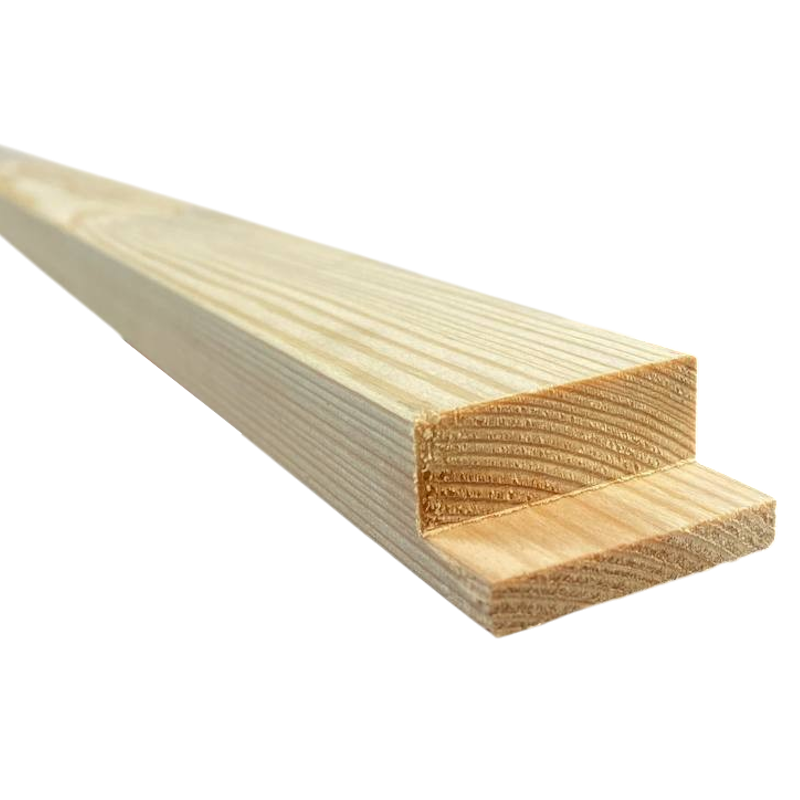
Cross Bars
(optional)
Cross Bars rest across the centre of your frame & provide additional support to your canvas. The total you need is completely dependent on the scale of your frame, with most smaller sizes needing none & larger sizes (80 x 80cm and up) requiring anything from 2 - 4 per frame.
Also sold in pairs, our FSC-Certified Cross Bars offer a range of lengths in both 19 & 38mm widths.
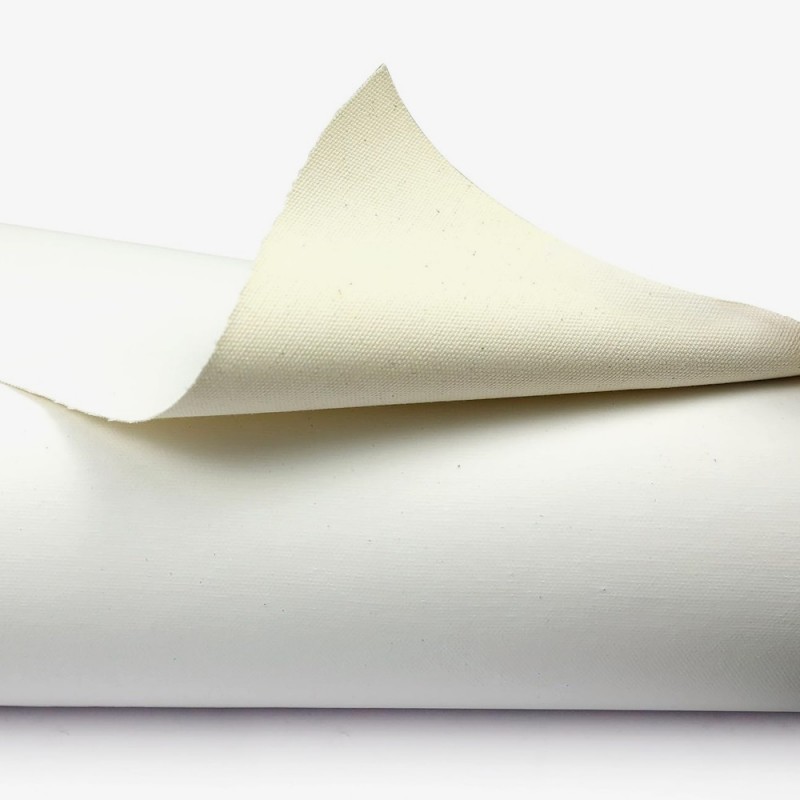
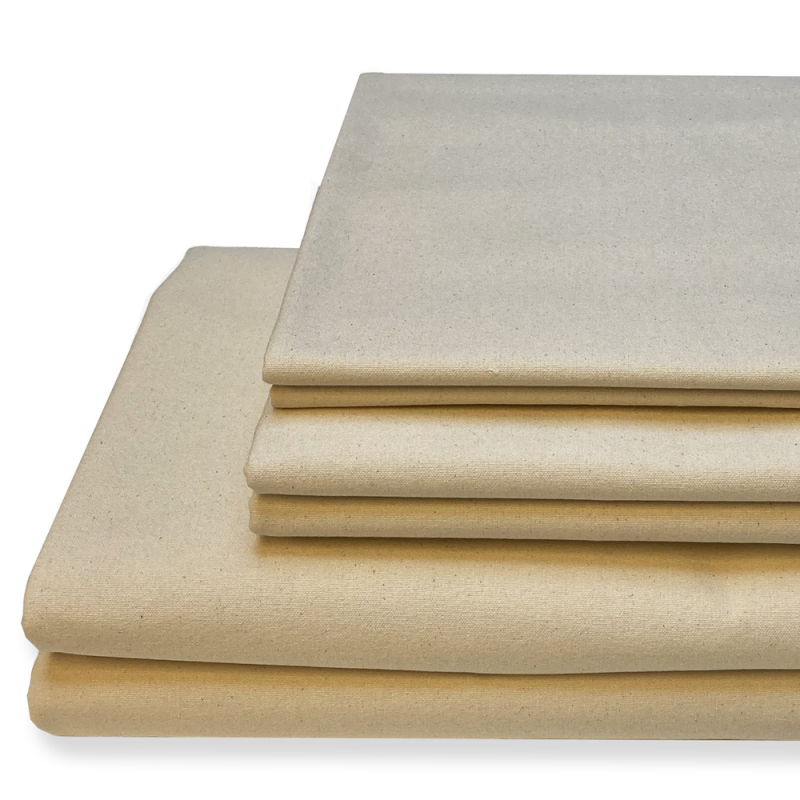
Loose Canvas
When it comes to the canvas itself, this is entirely open to personal preference. Dependent on your needs, you may prefer a heavier weight or a pre-primed option for sheer simplicity. Thankfully, we offer a broad variety of both primed & unprimed canvas in rolls or off-cut lengths ideal for artists of all skill levels.
Primers
If you’re using an unprimed length of canvas, we recommend preparing it with a gesso or primer (after assembly!). Designed to seal your canvas, they allow your paint to sit comfortably on top without being absorbed into the canvas itself.
Our extensive range of primers includes modern options like the Galeria White Primer & more traditional materials such as Rabbit Skin Glue.
Staple Gun
When attaching your canvas to the frame, we highly recommend investing in a reliable Staple Gun. Whilst nails are traditionally used, adopting a staple gun such as the Rapid R53 offers a lightweight, easy-to-use option with galvanised staples strong enough to easily pierce wood & secure your canvas. Along with this, the refills are abundant & affordable, ideal for any future projects.
Canvas Pliers
Designed specifically in the interest of assembling a canvas, canvas pliers provide additional leverage & grip for even, uniform results. We offer a 20cm pair from Loxley that are made using heavyweight cast iron & feature 760mm wide serrated jaws for an incredibly secure, reliable grip whilst you work.
As with any handmade project, we also highly recommend keeping a measuring tape, scissors or a knife to hand (and using them carefully).
.

Before we move onto building the canvas itself, there are several things to check beforehand (beyond ensuring you have all of your materials, of course).
No matter the dimensions of your canvas, it will use a minimum of 4 Stretchers Pieces, as these form the outer edges of your frame. For example, a 50 x 100cm canvas would require two 50cm & two 100cm Stretcher Pieces etc.
As we stock both 19 & 38mm options, keep in mind that when you're purchasing either Cross Bars or Stretcher Pieces, it’s best to match their corresponding thicknesses. For instance, if you're building a large frame using 19mm Stretcher Pieces & require Cross Bars, these should also be 19mm etc.
.
Traditionally, an artist would need to gather wood, carefully measure it out & then laboriously cut this into lengths as needed. However, it's 2025 and we're busy people.
Which is why our Stretcher Pieces are designed to be as easy-to-use as possible, with each ending in an interlocking joint, allowing them to slot together with relative ease. From here, it’s as simple as popping the four corners into their pre-made slots & ensuring the final product is straight.
Optionally, you could always apply an adhesive or lightly tap the corners using a mallet, to ensure they're as secure as possible.
.

And now we come to the canvas itself... for this step, you'll a large, flat surface.
Ensuring your surface is completely clean, start by laying your canvas front (or primed) face down. Now place your newly built frame on top & square it up, to avoid uneven stretching.
Your canvas should be large enough to wrap all edges of your Stretcher Pieces, leaving around 3-4" on each side for securing to the rear of the frame.
If you'd like to avoid potentially damaging any surfaces in your home or studio, you could always place a Cutting Mat underneath as a protective barrier.
.
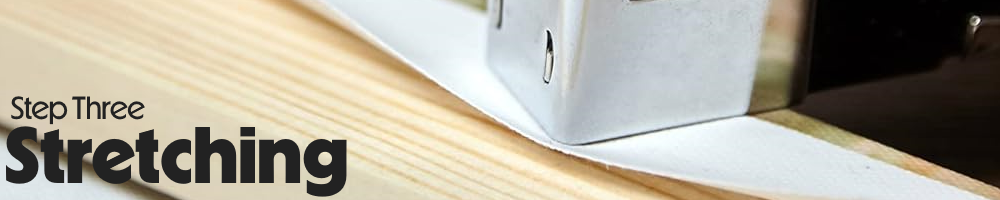
You remember we mentioned using elbow grease at the start of this? Here's where it comes into play.
Using your Pliers, pull the canvas taut over the frame & once in position, attach it to the centre of the Stretcher using your Staple Gun.
Continue this along the whole length of the side, leaving around 1” between each staple. Repeat this process on each side individually, ensuring you maintain the tension with your Pliers, otherwise your stretching will be loose or uneven.
Corners can be a little tricky, so it's best to neatly fold your canvas (like a gift) & hold it flat whilst you staple, as this avoids unsightly or cumbersome bulges when hanging.
If you happen to be making a rectangular canvas, it's best practice to always start with the long sides first before securing shorter ones.
.

Congratulations, you've built your very own canvas! Now for the finishing touches.
Using your knife (or scissors), trim any excess canvas from around the edges of the frame, leaving enough to maintain the integrity & security of your staples.
Once you've attached your canvas, you'll want to check that it's tight & evenly stretched. If you do notice any slack or wrinkles, gently pull the fabric to adjust the tension and staple again.
If you've changed your mind from Step One & want to add extra stability, you can reinforce the corners with wedges, corner braces or additional nails.
.
And that's it folks, once you have these basics down, you're good to go. Keep in mind that practice makes perfect & it's always important to experiment, explore and find your own unique way of working. The art world is a large, varied beast after all.
Of course, for any further questions or details, just let us know using the details below!
Email: [email protected]
Telephone: 01303 290550
Click here to visit our Instagram, Twitter & more!